I had just got the hang of my turkey enchiladas before I got put on the low histamine diet. Now that I’ve got more confident with experimenting, I thought I’d give them another go. I’m not sure they can still really be called enchiladas, but they’re pretty tasty and add some great variety to my menu.
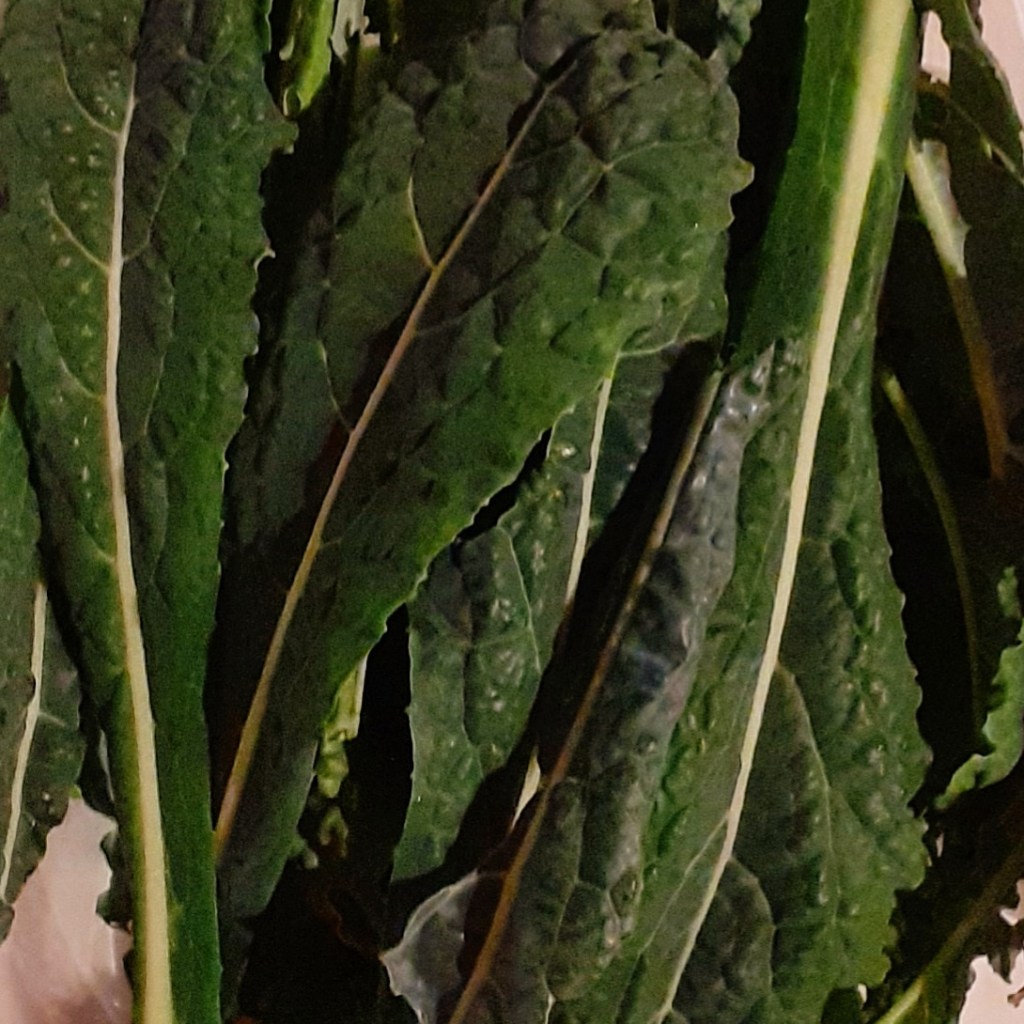
This is a pretty flexible recipe in terms of the vegetables. As you can see in the header, I used broccoli in that iteration, although I very much prefer kale or cavolo nero as the green part. It’s also flexible in terms of the spices. I started off pretty basic, and always make sure to keep the chilli level quite low. The fennel seeds are a recent addition, which I really like, and this is definitely something I’m still playing with. I’ve used a pinch of asafoetida in the past which works well too.
Add the celery and cook over a medium heat until slightly softened
Add the turkey mince, break it up and cook until browned
While the turkey is browning, add the spices (whichever you can tolerate) and mix well
Add the carrots and sweet potato, mix well and let sweat down, about 5 minutes
Add in nomato sauce and kale, simmer 5 minutes
Add sweetcorn, toasted pumpkin seeds, and vegan cheese if desired, and turn off heat
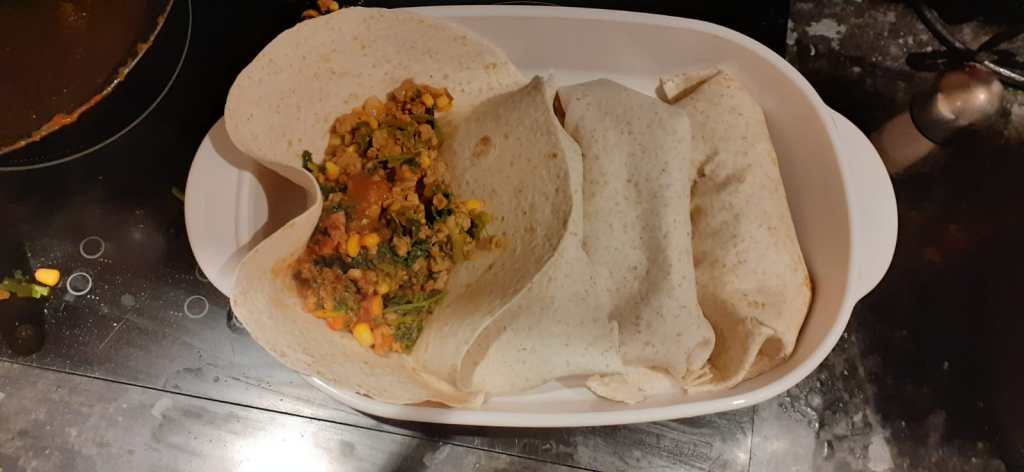
Get wraps out individually and place in dish, then fill with 1/4 of mixture each before carefully rolling and tucking edges under
Grate cheese over top
Bake for 40-45 minutes until cheese is melted and tortillas are browned
Enchiladas in a baking dish
*You can serve this with rice/quinoa/the grain of your choice rather than baking with the wraps. If doing this, make sure the turkey is cooked through before serving.
Curry is something that I really miss. I haven’t been able to tolerate onions or garlic for over a year now, so making one that’s flavourful enough has been difficult.
Now that I’m eating a low histamine diet, it’s even more challenging, because even some herbs and spices are out of the mix. I decided to have a go at a chicken korma. It’s based on the Hairy Bikers recipe, as it’s one of the rare ones I found that doens’t use almonds, which I can’t have. Here’s a link to the original: http://www.hairybikers.com/recipes/view/chicken-korma
With the limited spices and no onion or garlic, it’s all about imparting flavour at every stage. Cardamom is one of my favourite spices, so that’s why it goes in the marinade, but I suppose you could try out another spice if you wanted to.
Ingredients
(serves four)
4 chicken breasts
25g dairy free yoghurt (I use coconut)
1tsp flavourless oil
2 heaped tsps ginger (I use ginger from a jar)
1 tsp ground cardamom, divided
1 tbsp ground coriander
1 tsp ground turmeric
1 bay leaf
1/4 tsp paprika
1 tbsp plain flour
small pinch of saffron (optional)
2 tsp caster sugar
250ml coconut milk
100ml chicken stock, separated
3 tbsp oat cream
dessicated coconut (optional)
Method
Cut up the chicken into bite-sized pieces.
Place the chicken and the yogurt in a bowl with a smidge of the cardamom, and some salt and pepper.
Set aside for at least 30 minutes, or up to 6 hours. Refrigerate if you’re leaving it a while.
In a large frying pan, heat up the oil on a medium heat.
Add the ginger to the pan, then add the spices: cardamom, coriander, turmeric, bay leaf and paprika and cook for about a minute to toast the spices.
Add flour, sugar and saffron, and stir together.
Slowly add the coconut milk and half the chicken stock.
Bring to a simmer and cover for 10 minutes.
Take out the bay leaf, and add the chicken pieces one by one, shaking off the yogurt as you go.
Add oat cream and the rest of the stock.
Simmer for 10 minutes.
If the sauce is a little thin, you can remove the chicken into a bowl and reduce the sauce until it’s the desired thickness.
Tips
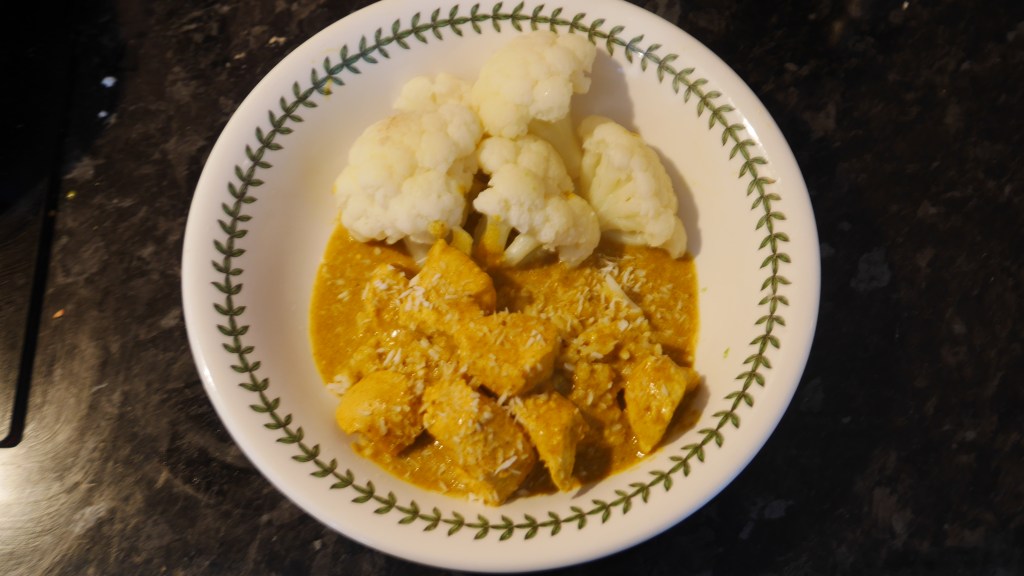
I like to serve it with basmati rice and a vegetable, like cauliflower.
I use heaping measures of the spices (except paprika).
The saffron is optional- I found some in the back of the cupboard so decided to use it up.
If you’re using fresh ginger, put it in the pan before the spices and cook it until soft. Add a splash of water if it starts to catch.
I miss sausages so much. Sausages and ketchup is one of my favourite foods. With the no pork rule on my low histamine diet, and not being able to have tomatoes, this is a meal I can no longer have.
So, I started doing some research on meat substitutes. Most of these contain soya, or some kind of pulse, so that was a no for me. Even most of the recipes did too.
Then I came across seitan. While all of the recipes did contain chickpeas, chickpea flour, beans or lentils, I thought that rice would make a good swap. I’ve given this a few goes now, and I think I’ve got the balance of flavours right. The first batch was far too fennelly, but now I think it’s a pleasant undertone.
Cooking the rice in stock is a really important stage, as it adds flavour usually brought by things like tomato paste and soy sauce. I use chicken stock for mine, but you could easily use vegetable stock instead.
Seitan sausages: cooked on a bun, steamed and still wrapped in foil
Ingredients
Makes 4 sausages
1/4 cup basmati rice
3/4 cup stock
1/2 tablespoon oil
1 stick of celery, diced
1/4 teaspoon fennel seeds
1/2 teaspoon salt
1/2 teaspoon thyme
1/2 teaspoon paprika
1/4 teaspoon turmeric
1 tablespoon stock
1/4 cup fizzy water
3/4 cup vital wheat gluten
Instructions
Cook the rice. Place rice and stock in a pan, bring to the boil, cover and reduce heat to cook for about 10 minutes. You shouldn’t need to drain it once it’s done as all the liquid should be absorbed.
Heat a pan over a medium high heat, and fry the celery in oil. If it starts to catch, you can add a little stock to the pan.
Once soft, add a drop more oil and add the fennel seeds. Let them cook until they start to pop, about a minute.
While the celery is cooking, assemble the other ingredients except the vital wheat gluten in a food processor.
When the celery and fennel are done, add them in too, and whizz until well mixed together. You don’t want the rice to be completely blitzed as this will add texture to the sausages.
Add the vital wheat gluten, and whizz gently until the mix all comes together. This will happen quite quickly.
Divide the mix into four and roll them into sausage shapes. It doesn’t matter if they’re not particularly neat, everything will even out in the steaming process.
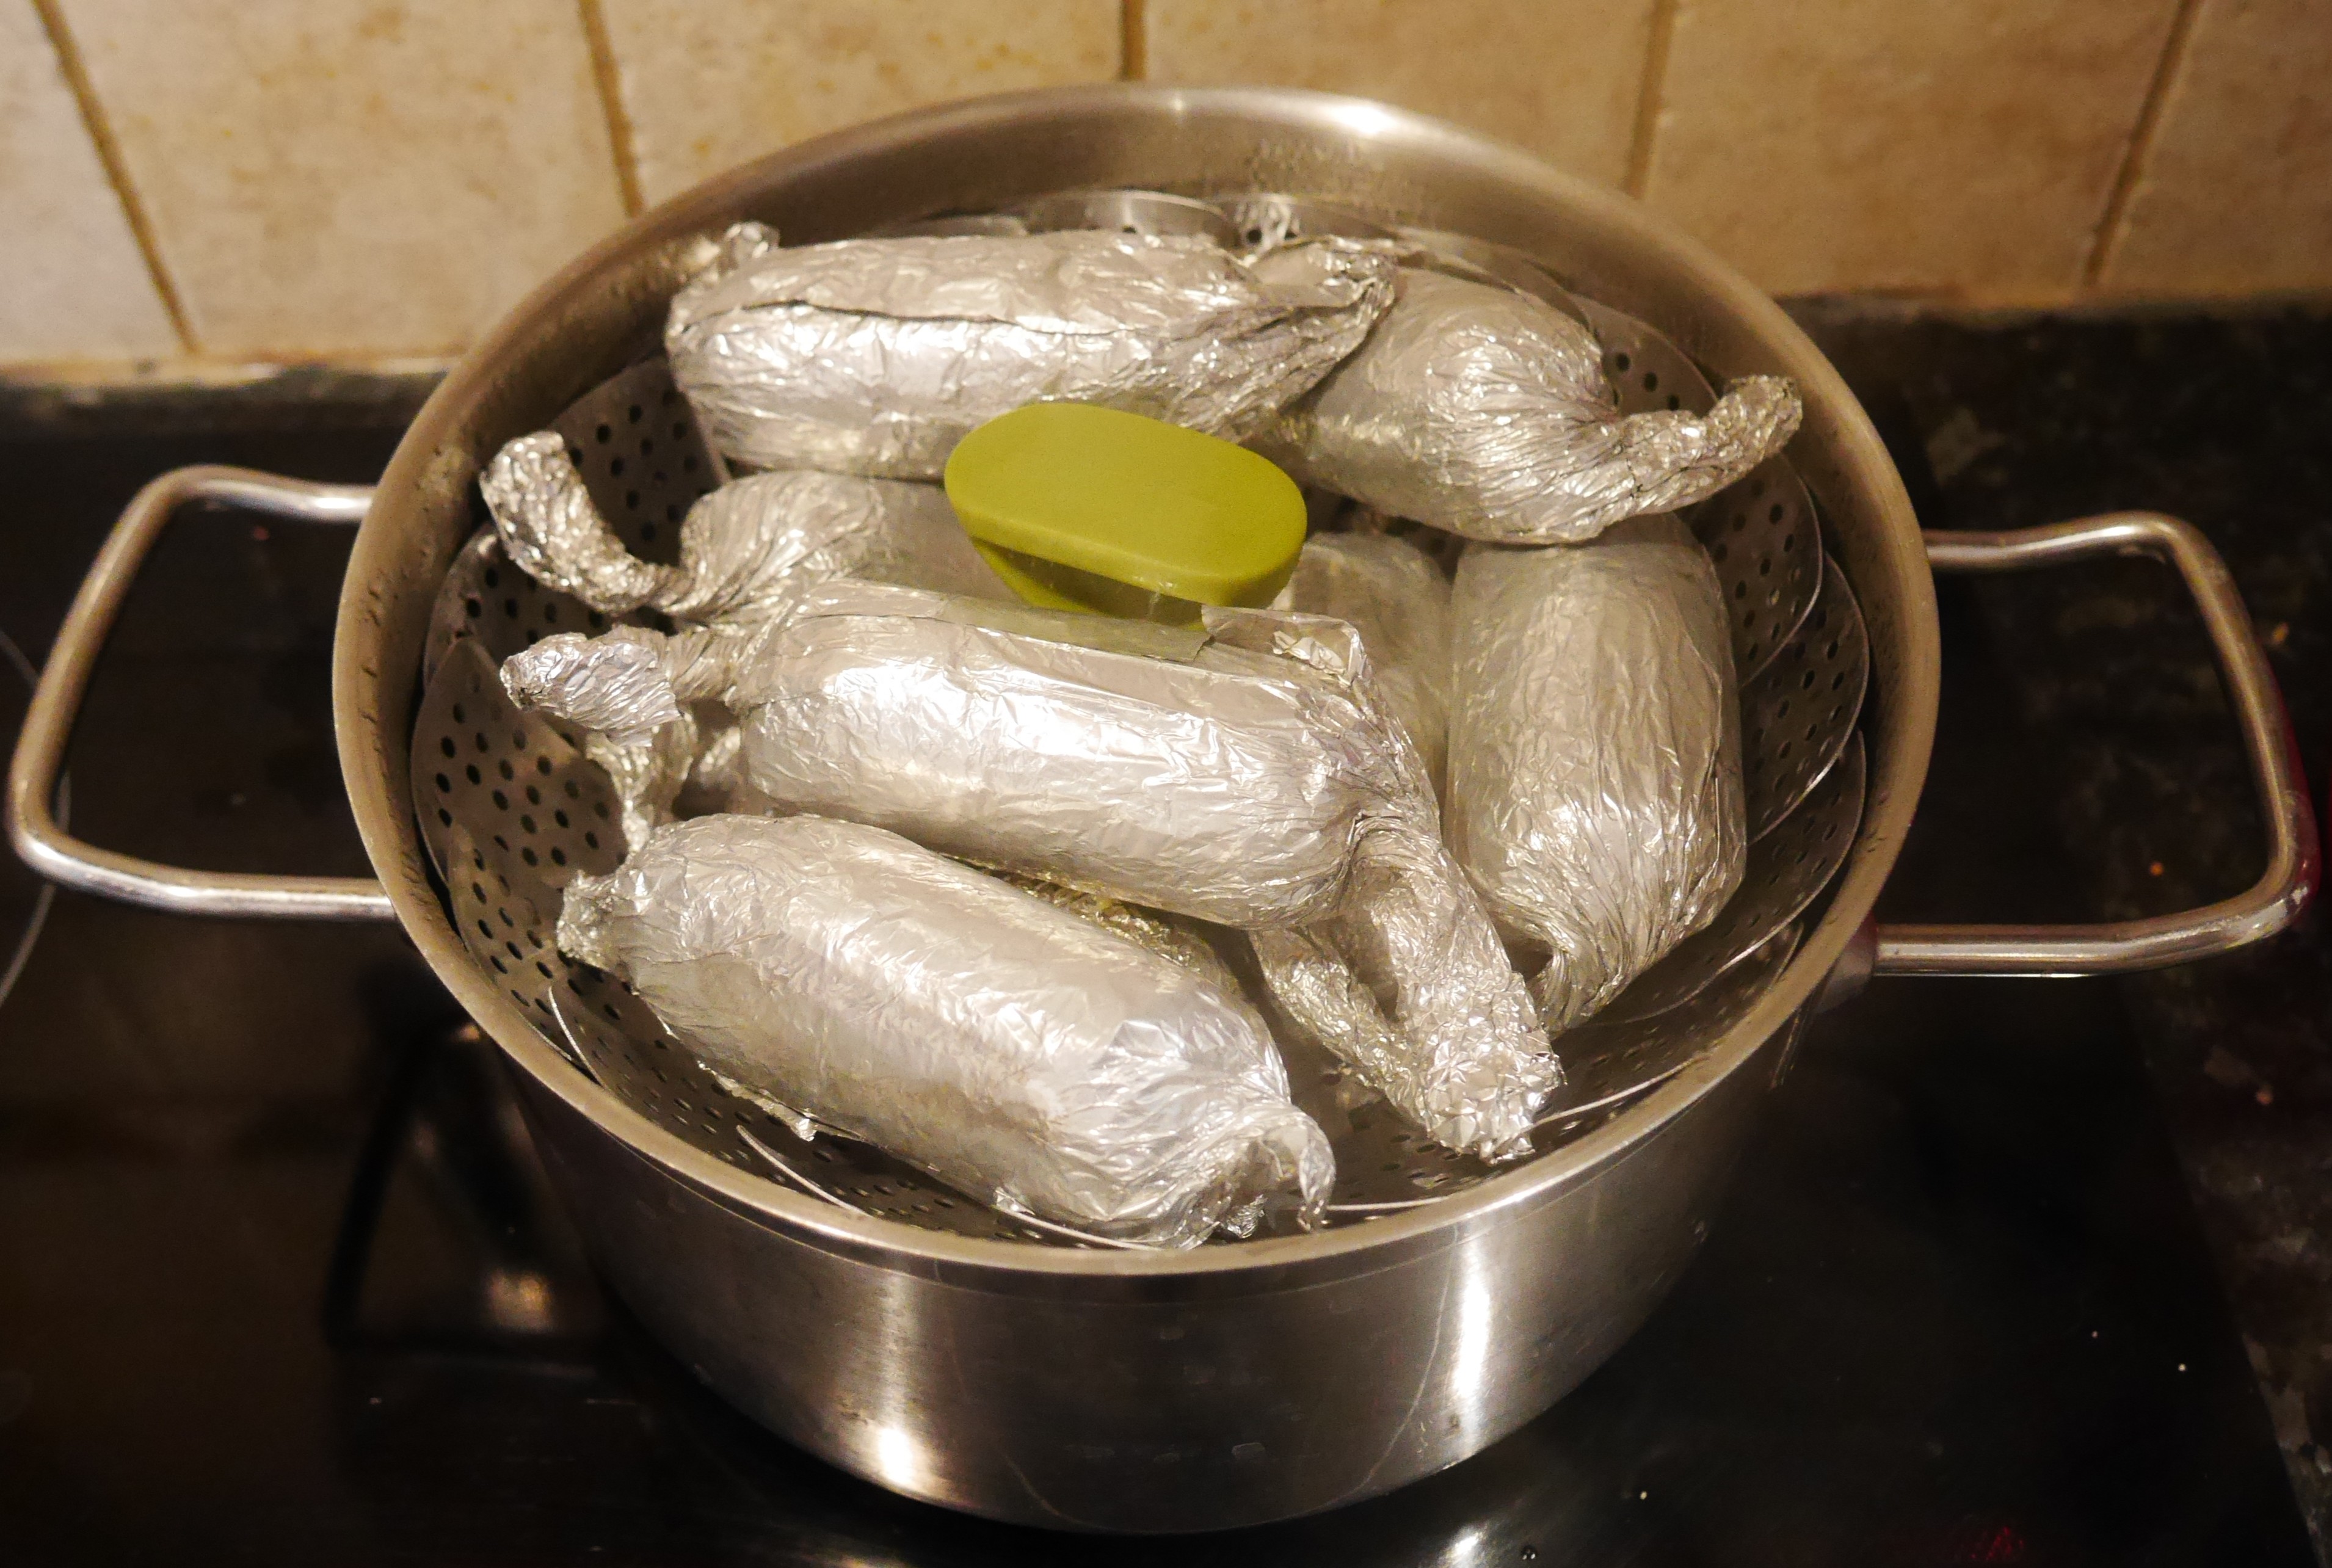
Roll each sausage first in greaseproof paper then in foil, twisting the ends like a cracker. The greaseproof is important so the seitan doesn’t stick to the foil.
Steam the sausages over boiling water for 40 minutes, turning them over halfway through.
Leave to cool until you can handle them, then take off the wrappings.
Serve as desired. I like to fry mine up over a very gentle heat and slice them into a sandwich.
Foil wrapped seitan in the steamer
Tips
This recipe has an upped salt content as I have dysautonomia, so feel free to reduce if you’re not dealing with that too.
You could try switching the rice to another type, just follow the instructions for cooking.
There will be too much rice, but I’ve used the leftovers in summer rolls, or just doubled up this recipe. I decided it would be hard to cook less than 1/4 cup of rice.
You can freeze these sausages after steaming. To eat, thaw completely then cook as desired- fry, bake, grill until piping hot throughout.
You can double the recipe, but I’d recommend whizzing it in batches of 4 sausages so as not to clog the processor.
I’ve been looking into egg substitutes and using them successfully in baking, and now I’ve been trying out ways of making breadcrumbs stick to chicken without using eggs. When I’m baking the chicken- as with my Crumby Chicken, I had been using yogurt. However, I didn’t think this would hold up under frying, and I’m now cutting out soy so finding friendly yogurt is more challenging.
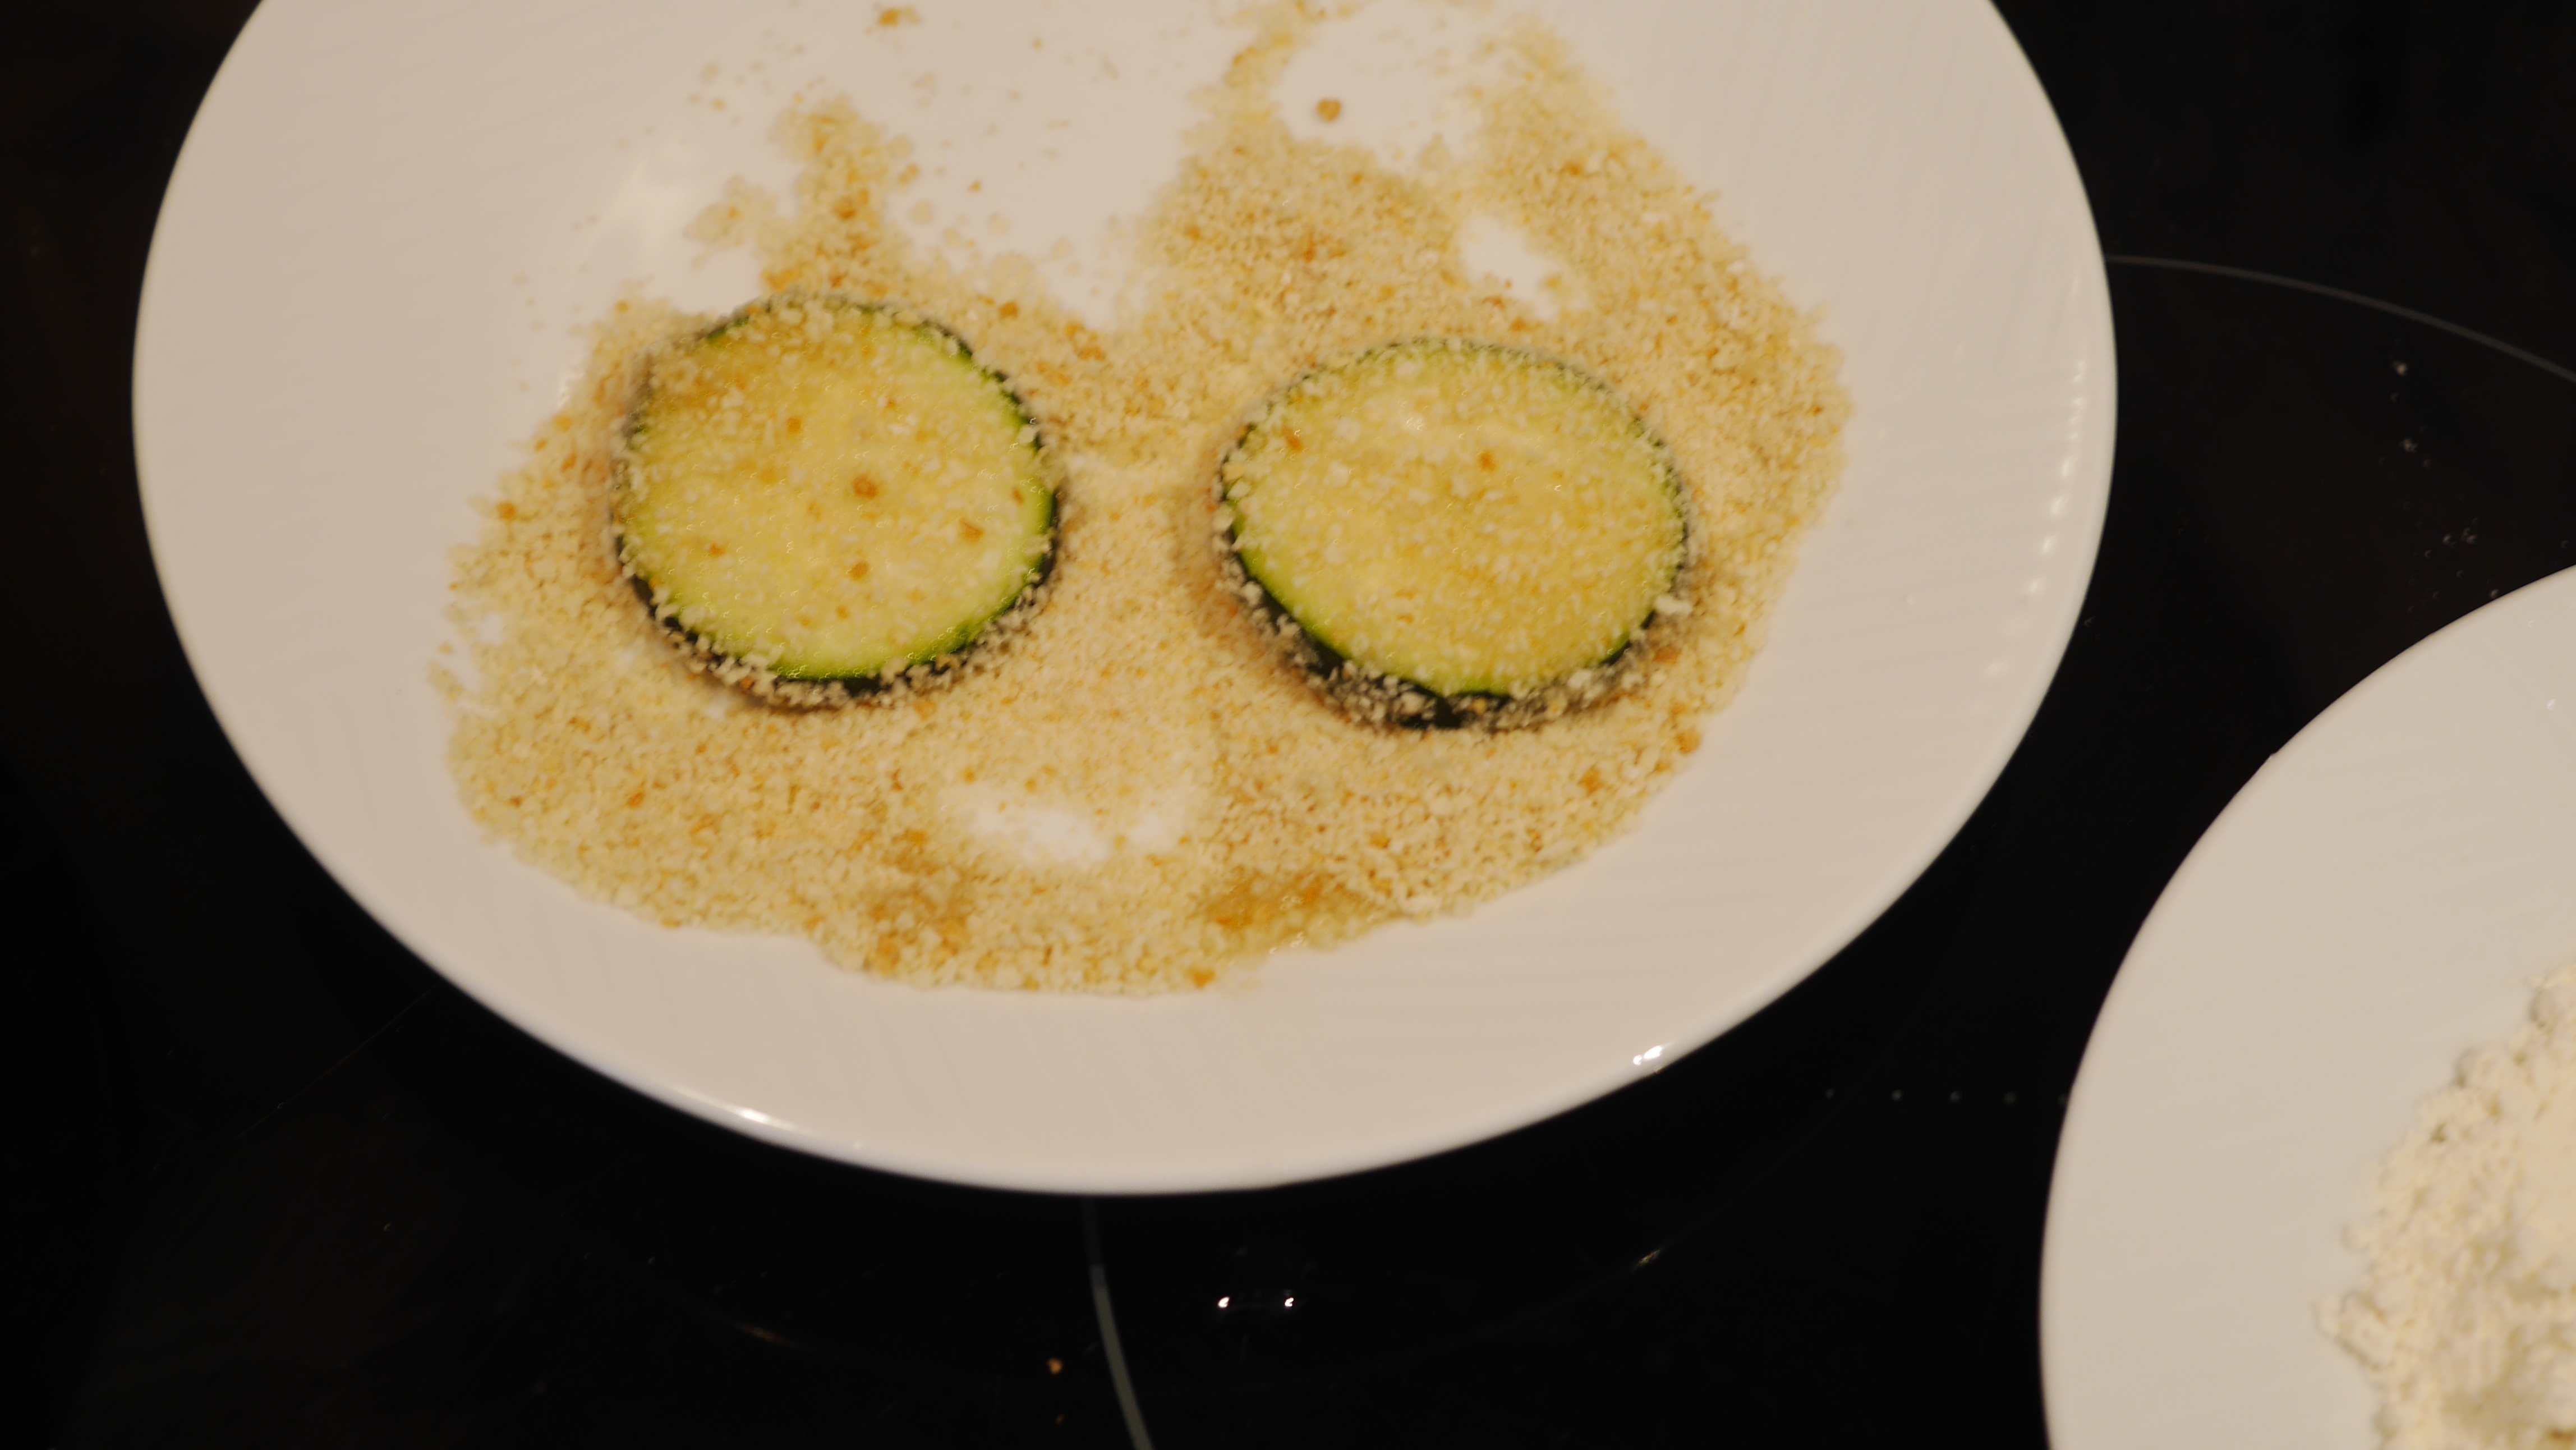
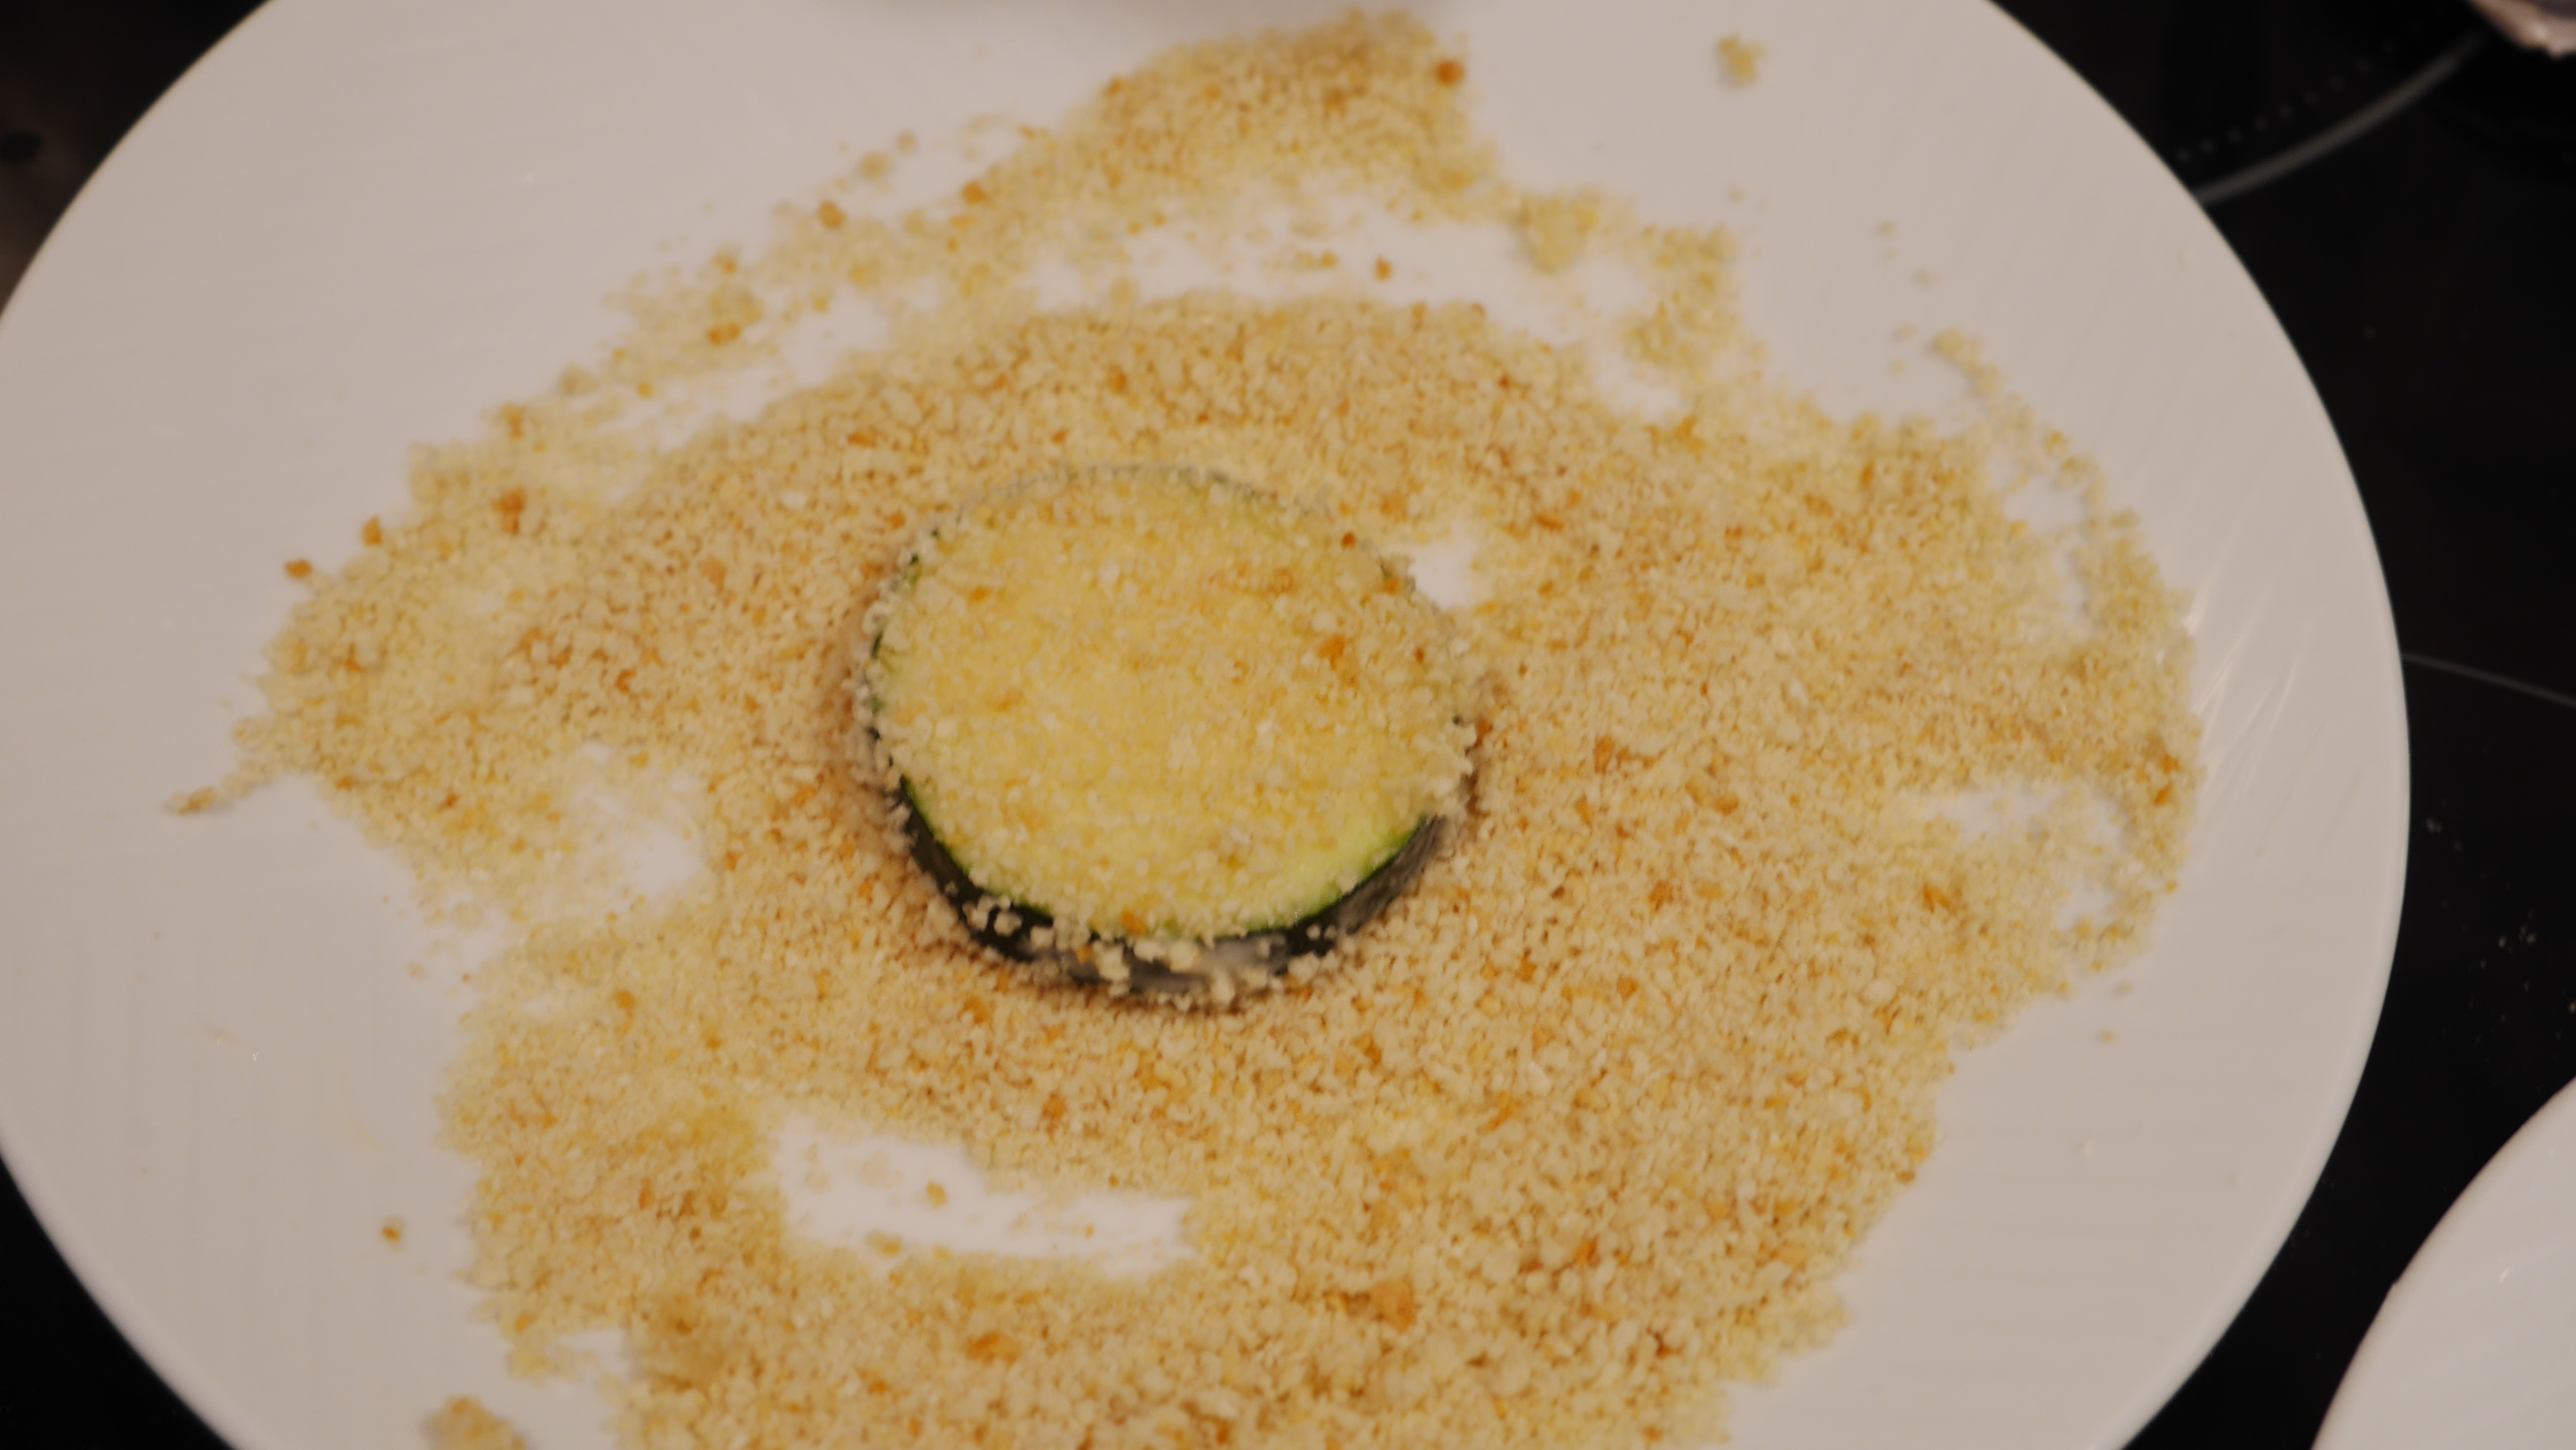
I’ve tried out a few different permutations, and you can see the results below. I tried out different elements for the first and second stages, and used breadcrumbs for all of the final stages. I used courgettes rather than chicken because I didn’t want to waste too much food if (when!) it went wrong.
For the initial coating, I went with plain flour, as this is what I normally use, and I also used my normal breadcrumbs for the outer coating. I cooked all of the courgette rounds in a pan over a medium high heat using vegetable oil. I found you needed quite a lot of oil.
Trial 1: Oil
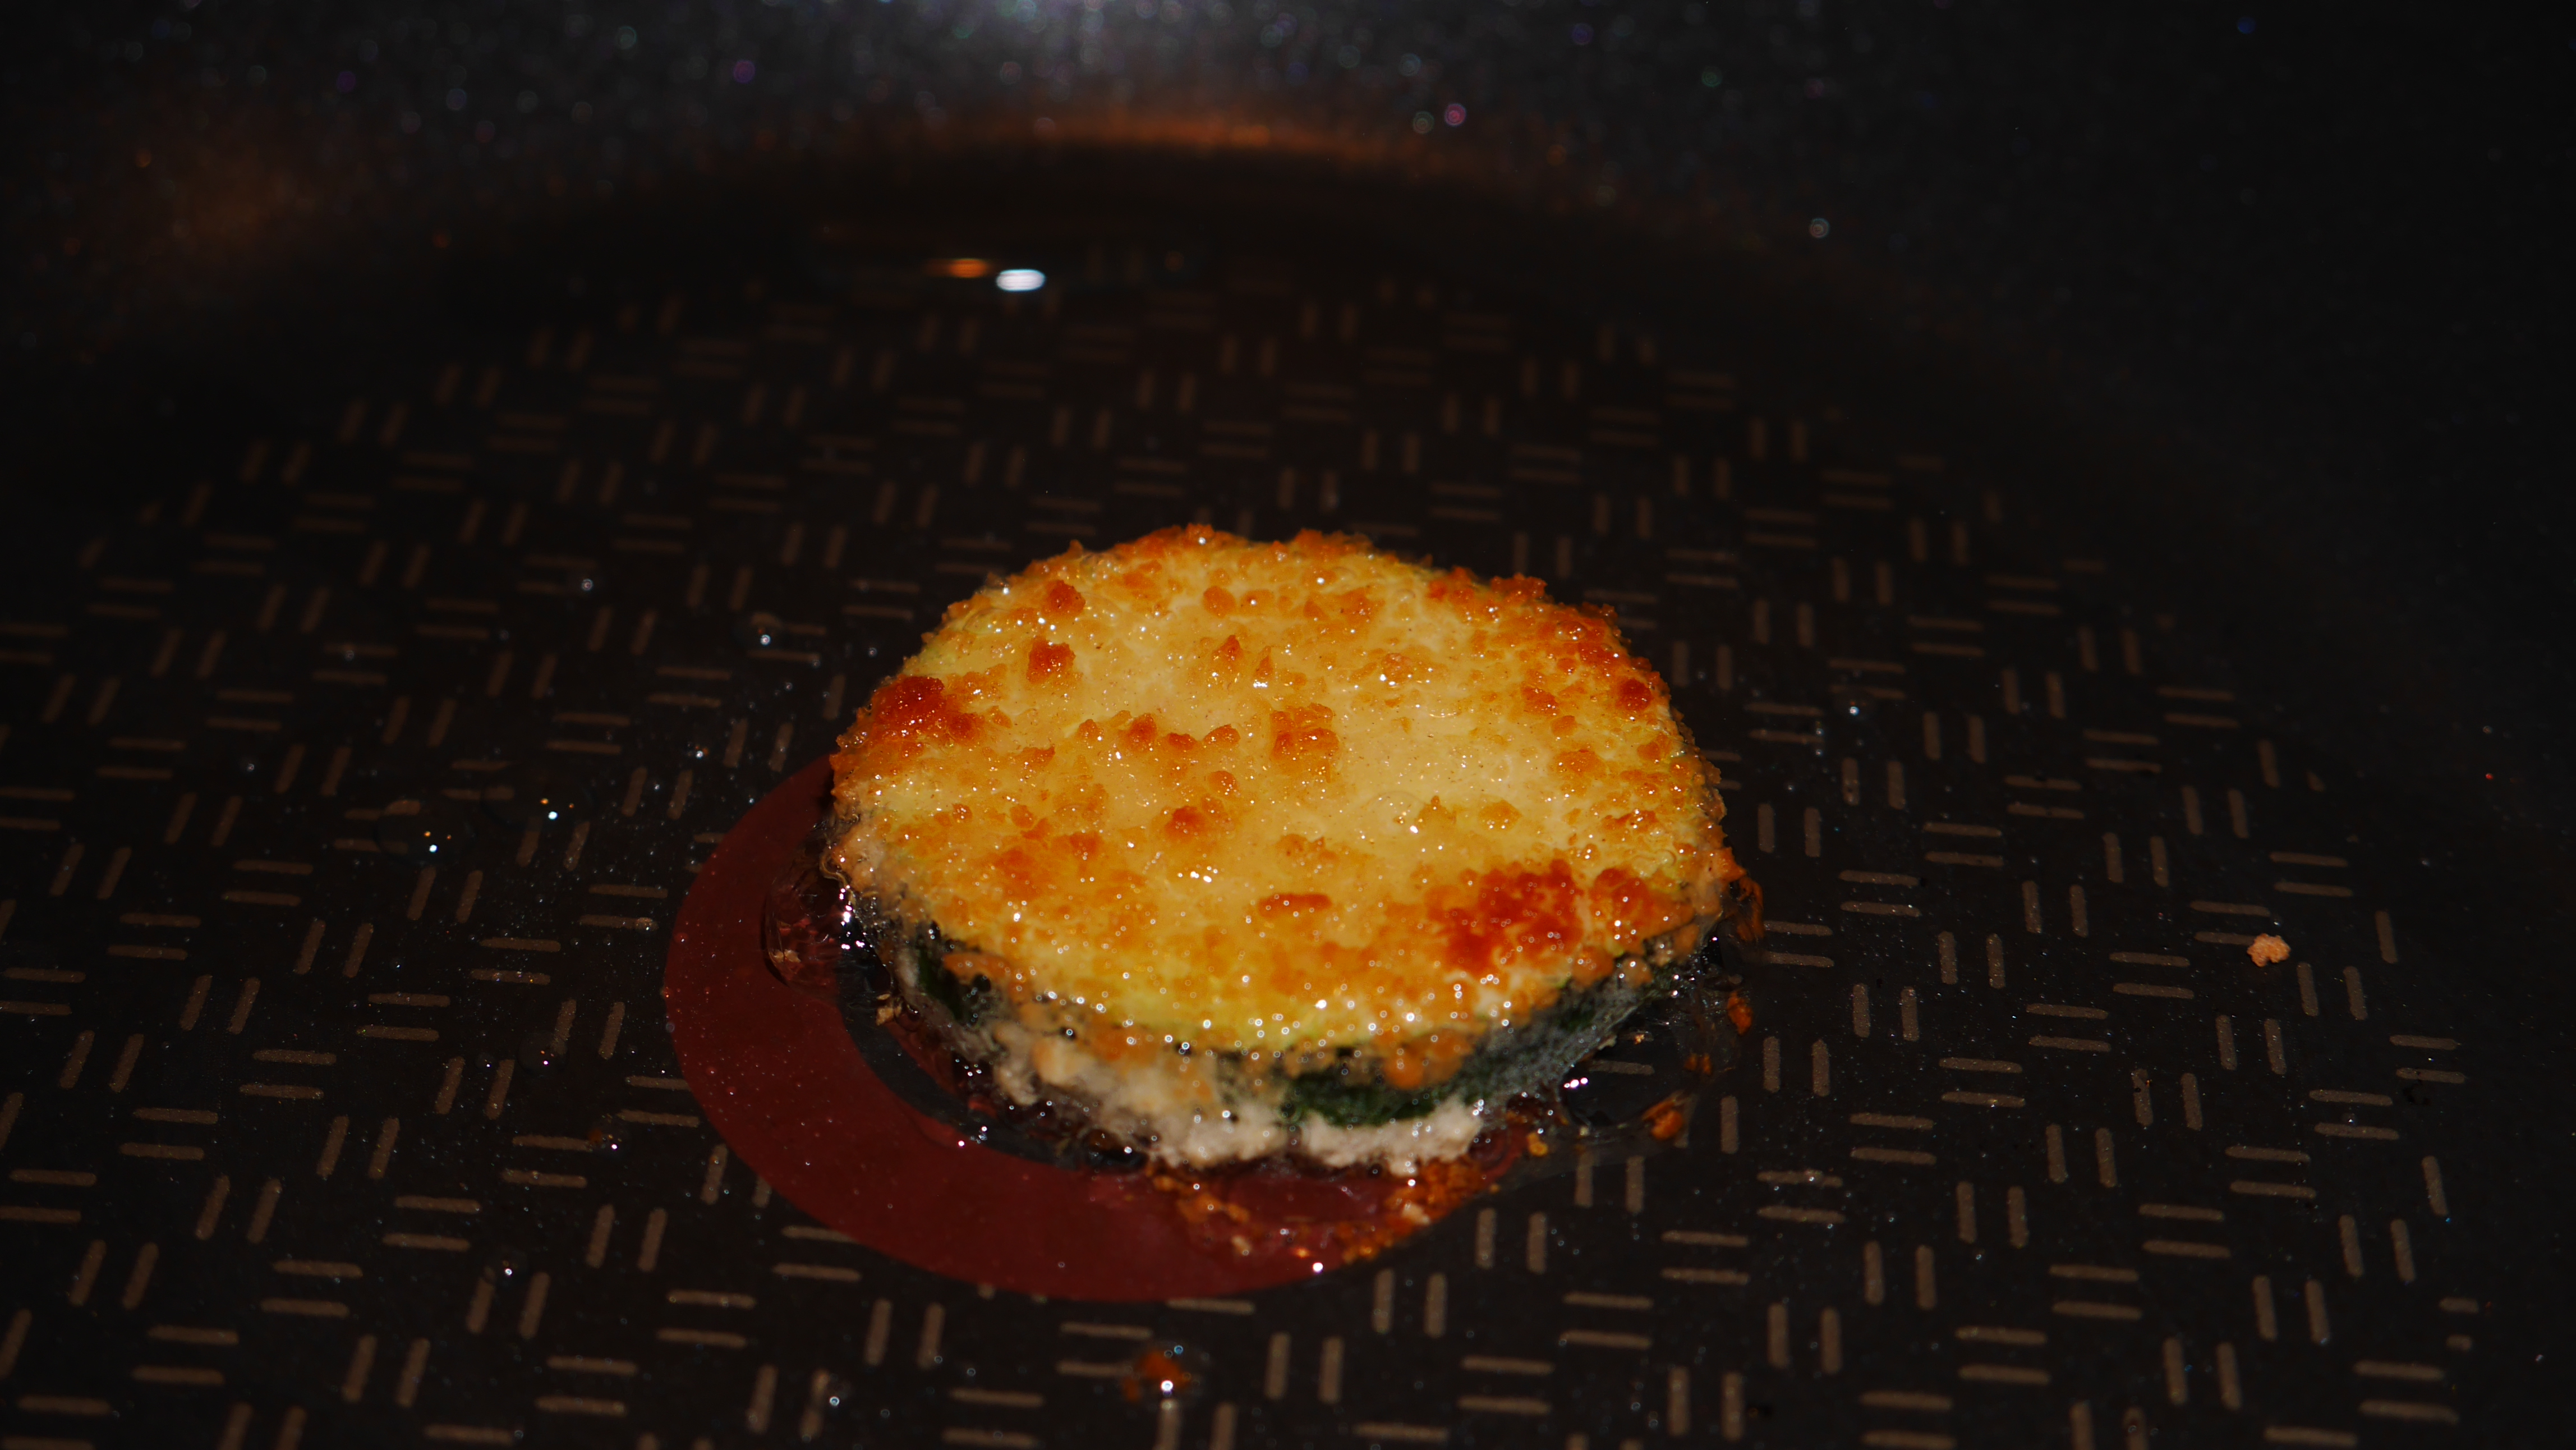
I made a start with the oil, as I needed to let the other liquids sit for a little to get to work. It was really easy to cover the floured courgette in oil, and then to coat that in breadcrumbs. They clung really well and looked great before I started to cook them.
However, on introducing it to a hot pan, all the breadcrumbs came straight off and started burning into the pan. It’s a definite NO for oil.
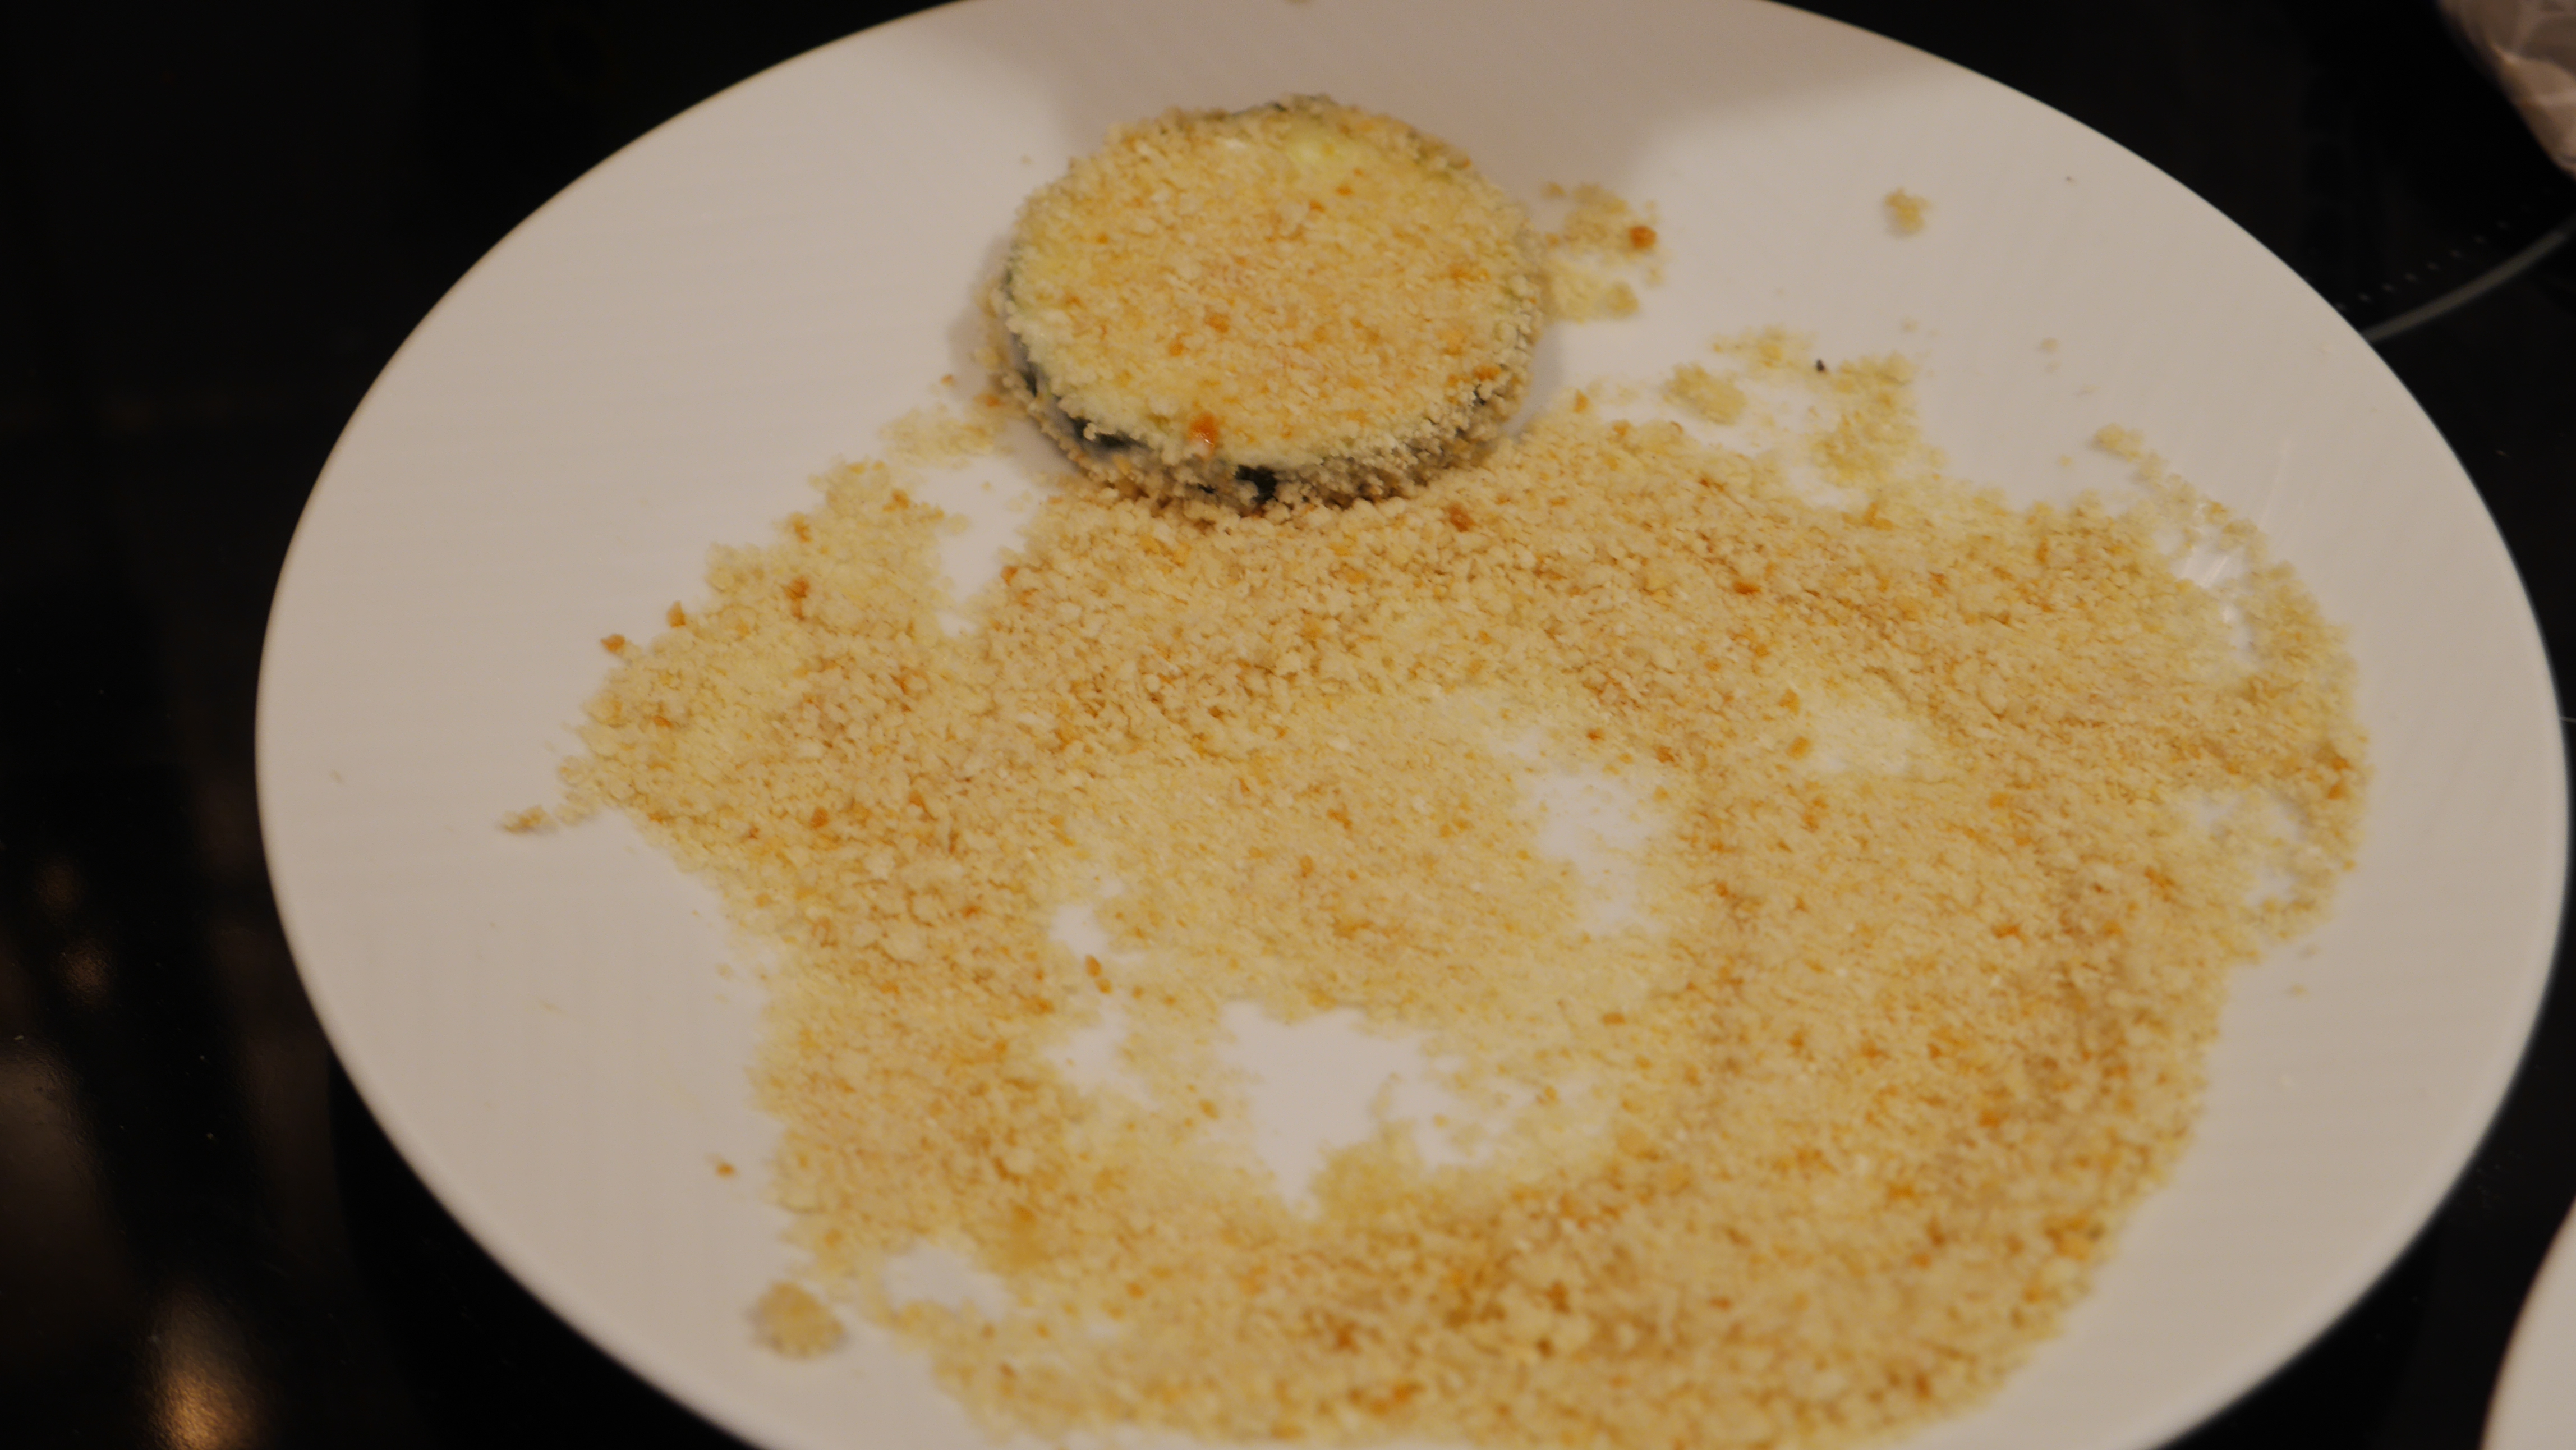
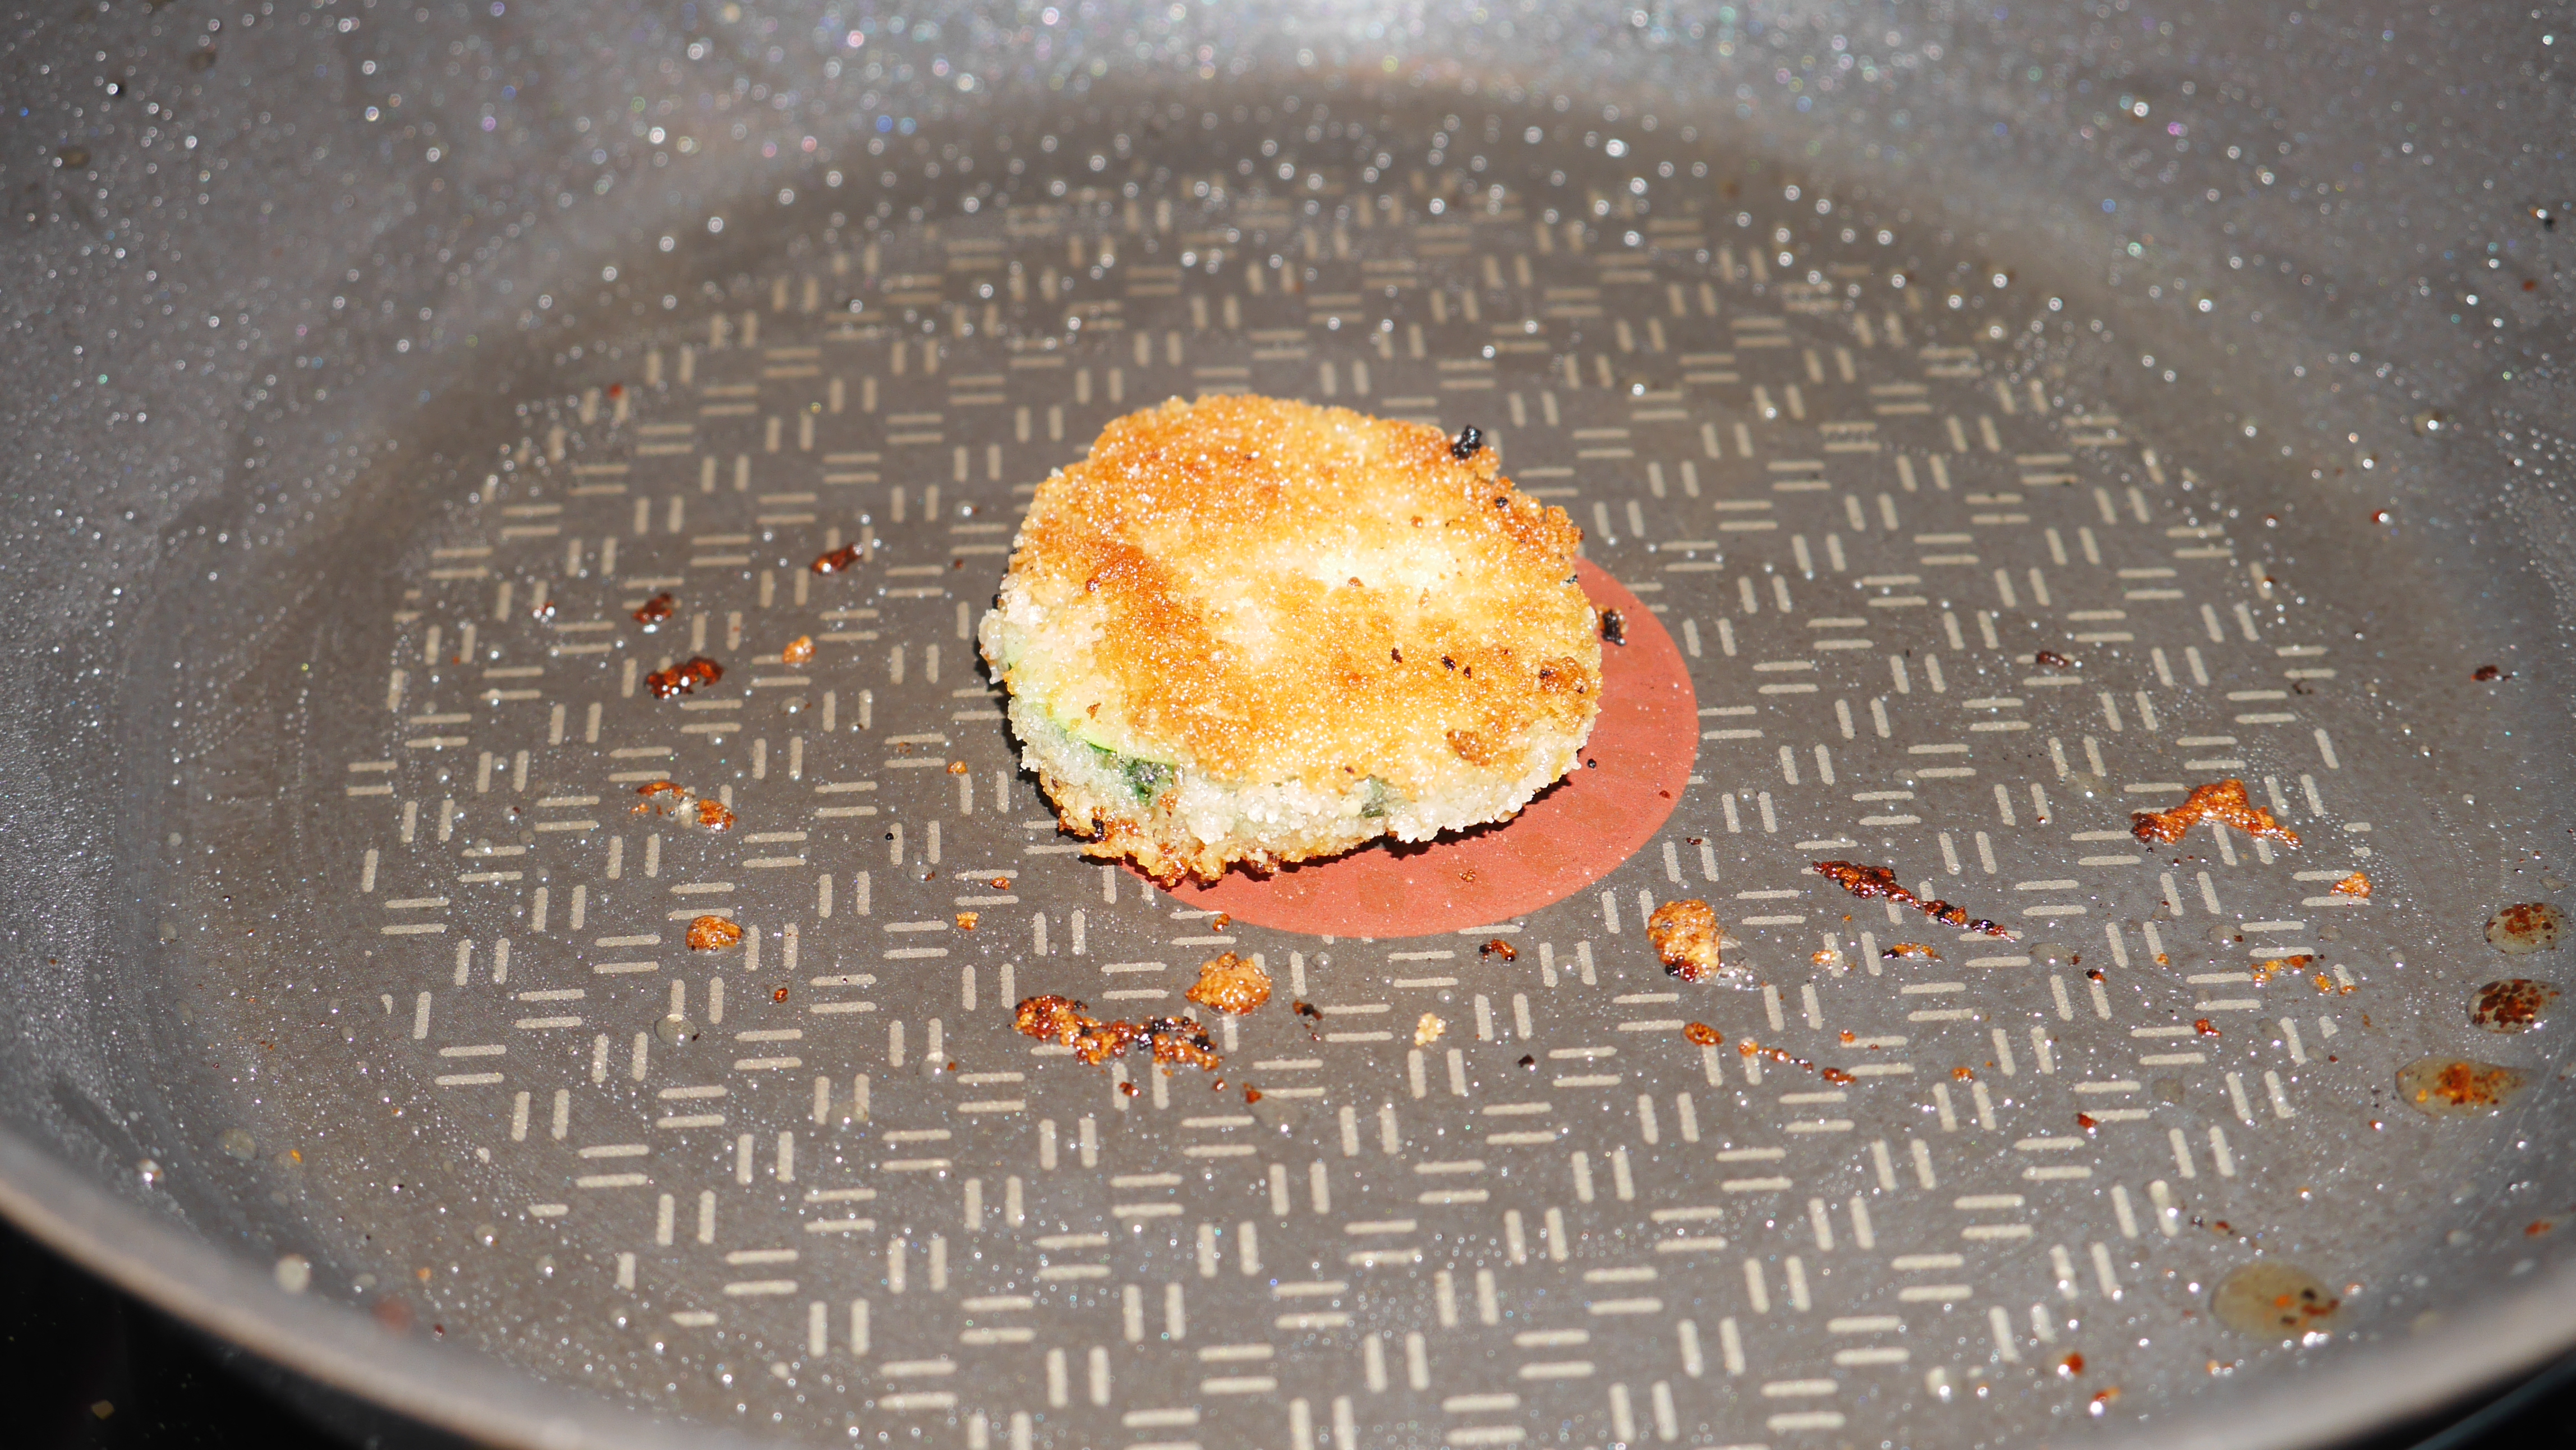
Trial 2: Oat Cream
Lots of the suggestions I’d seen online were for vegan mayo, so I figured why not give something dairy-ish a go. I plumped for oat cream as I thought millk by itself would be too thin. There was much better breadcrumb stickage with this one. There was still some breadcrumb loss in the pan, but significantly less than with the oil.
As this one looked vaguely edible, I thought I’d give it a go. It was pretty good.
I also decided to chill the courgette to see if that would help things along. I breaded the slide and refrigerated it for about 10 minutes. This was not a good idea, and was similar to the outcome for the oil, so I really wouldn’t recommend chilling before frying.
Trial 3: Gram Flour and Water
So even though I’m not supposed to eat chickpeas, I thought I’d give this a go as I might be able to tolerate the small amount needed, if it was the best of all the options. I’ve seen a few vegan recipes using the mixture for this purpose.
However, this was the one that went the least well intially . I found it really hard to get a smooth paste with the gram flour, and it was really difficult to sieve it.
However, once I left it for a few minutes white I did the first two types of liquid, it really did look somewhat eggy. It went on to the courgette easily and the breadcrumbs stuck nicely. Unsurprisingly, the breadcrumbs stuck really well to this one, and it tasted good.
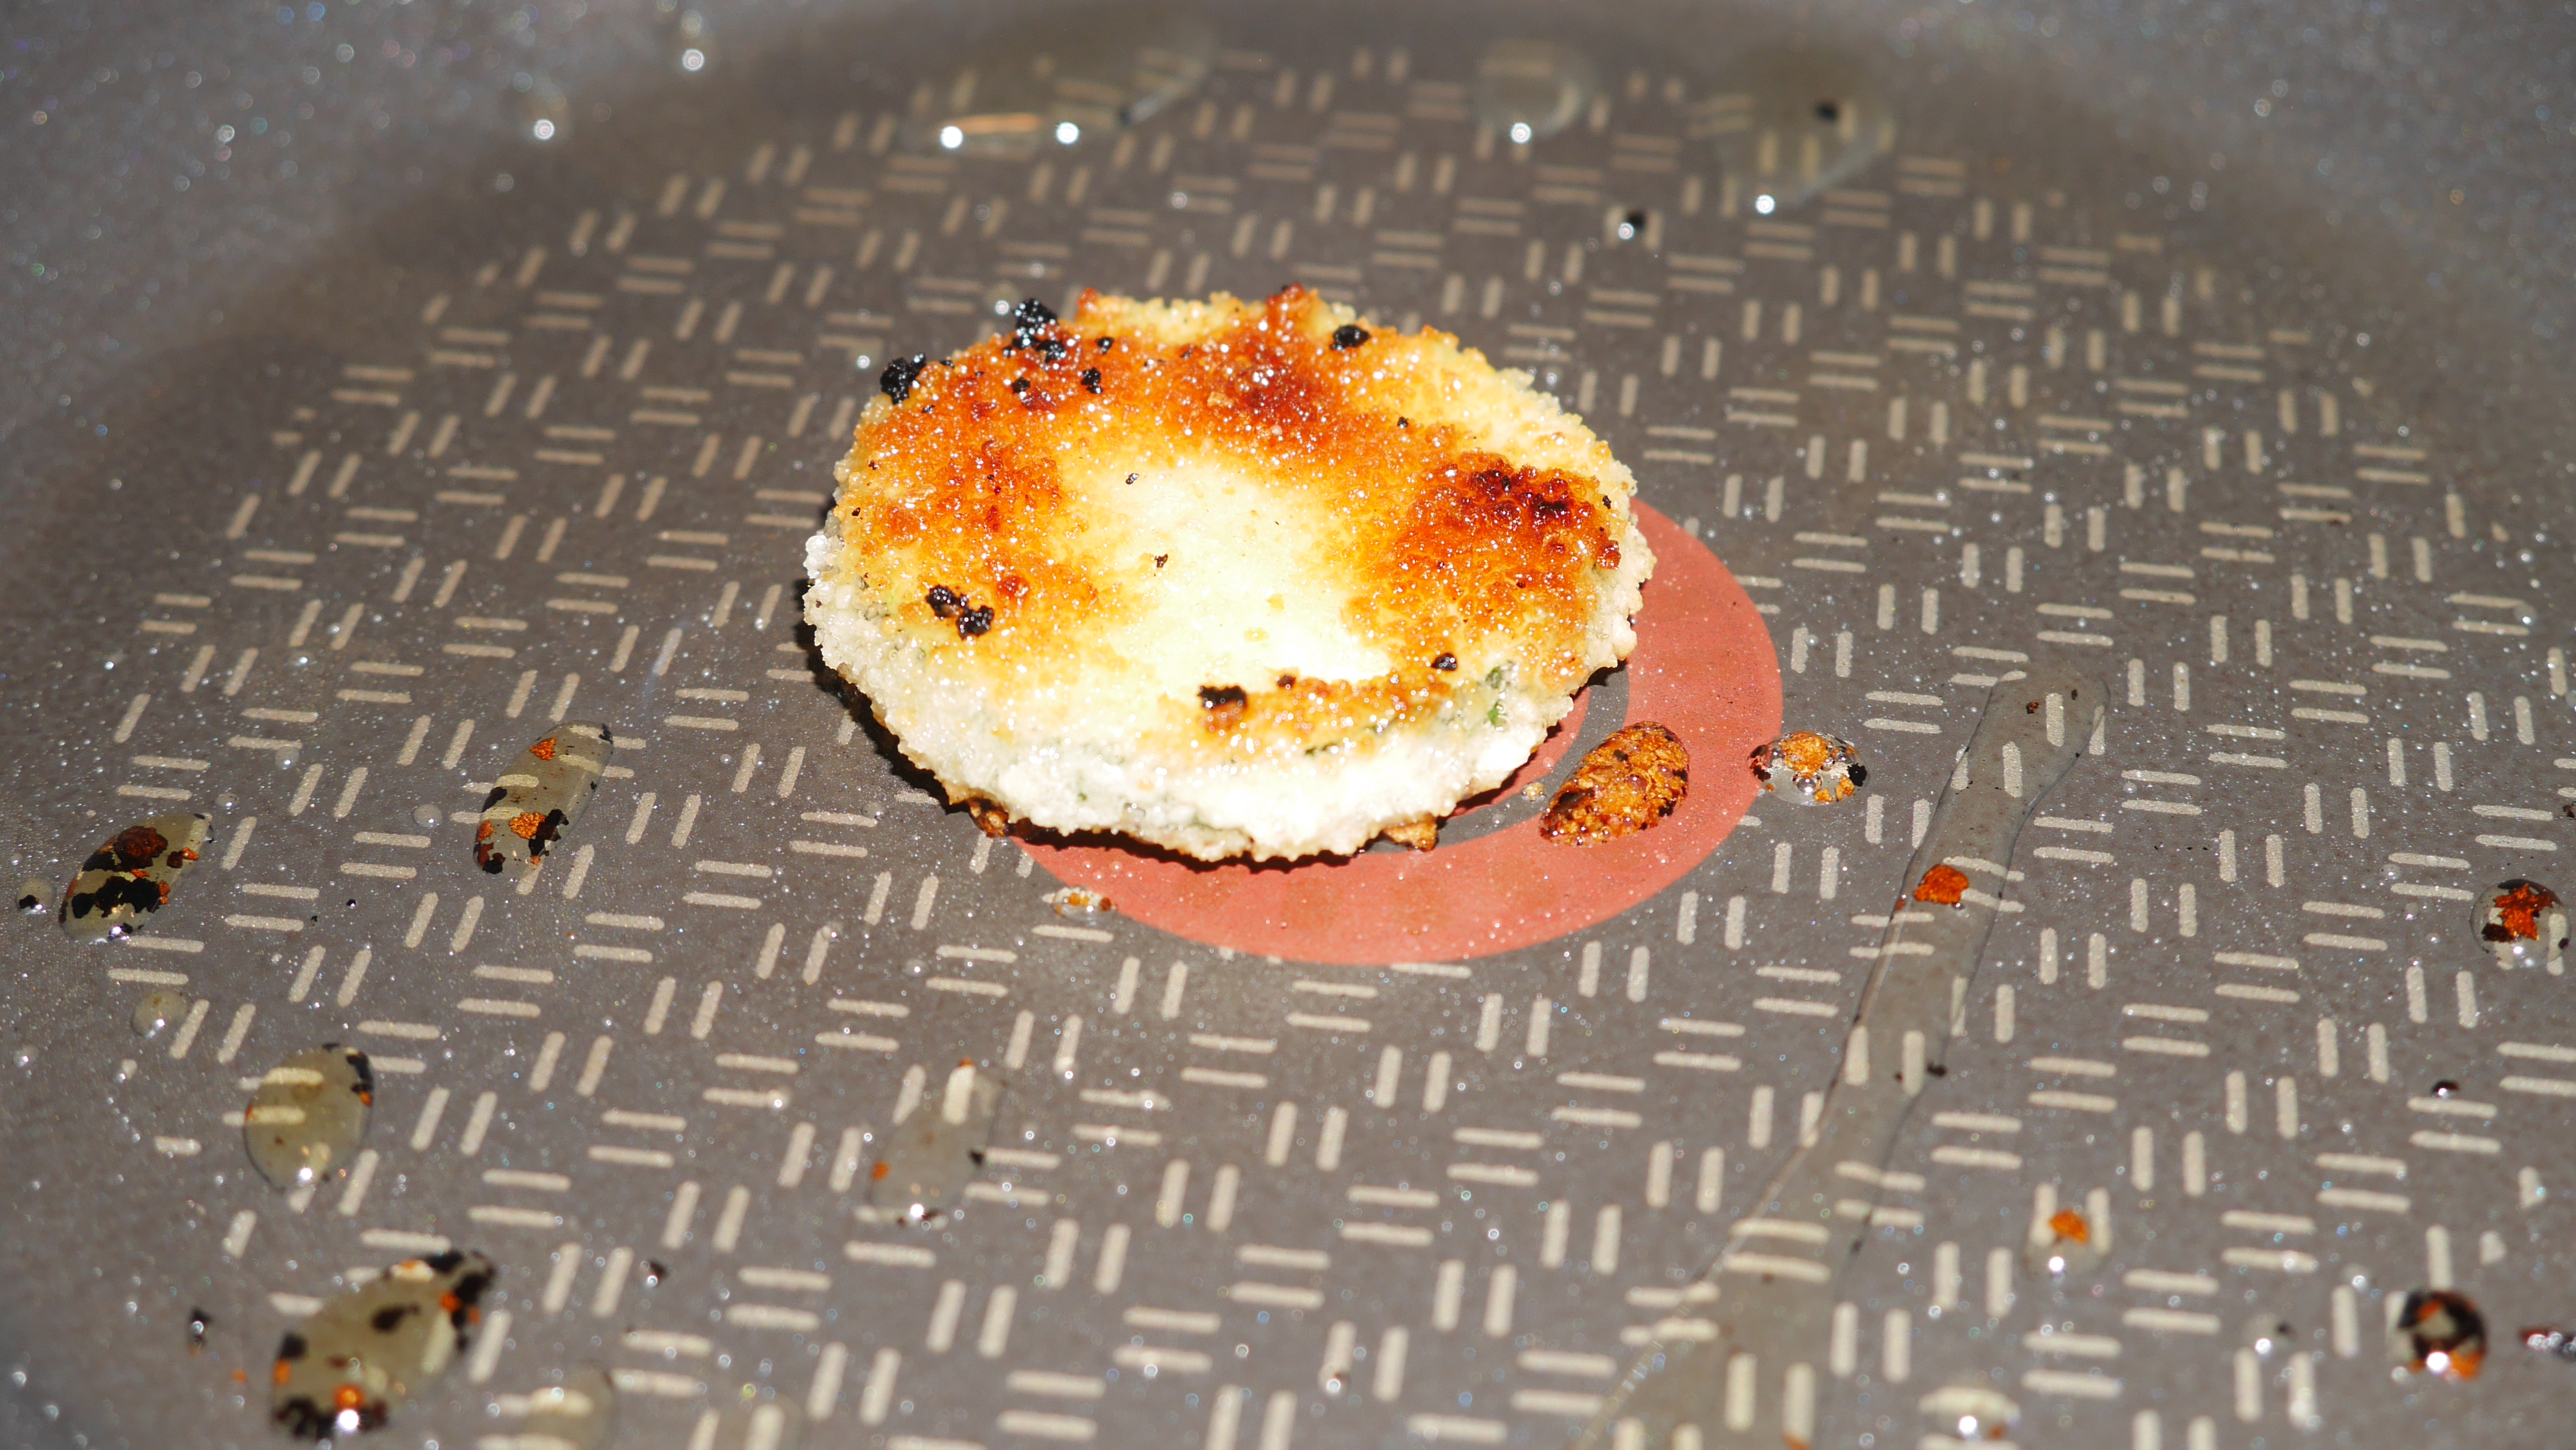
Trial 4: Plain Flour and Water
I had the least hope about this one going in, as I wasn’t sure it would work, but actually it went quite well. I mixed flour and water to get an egg-like consistency, and the dipping stages were easy.
The breadcrumbs stuck nicely to the goopy flour mix, and few came off in the pan. It tasted fine, pretty much the same as the other two I’d already tried, so actually I’d recommend it.
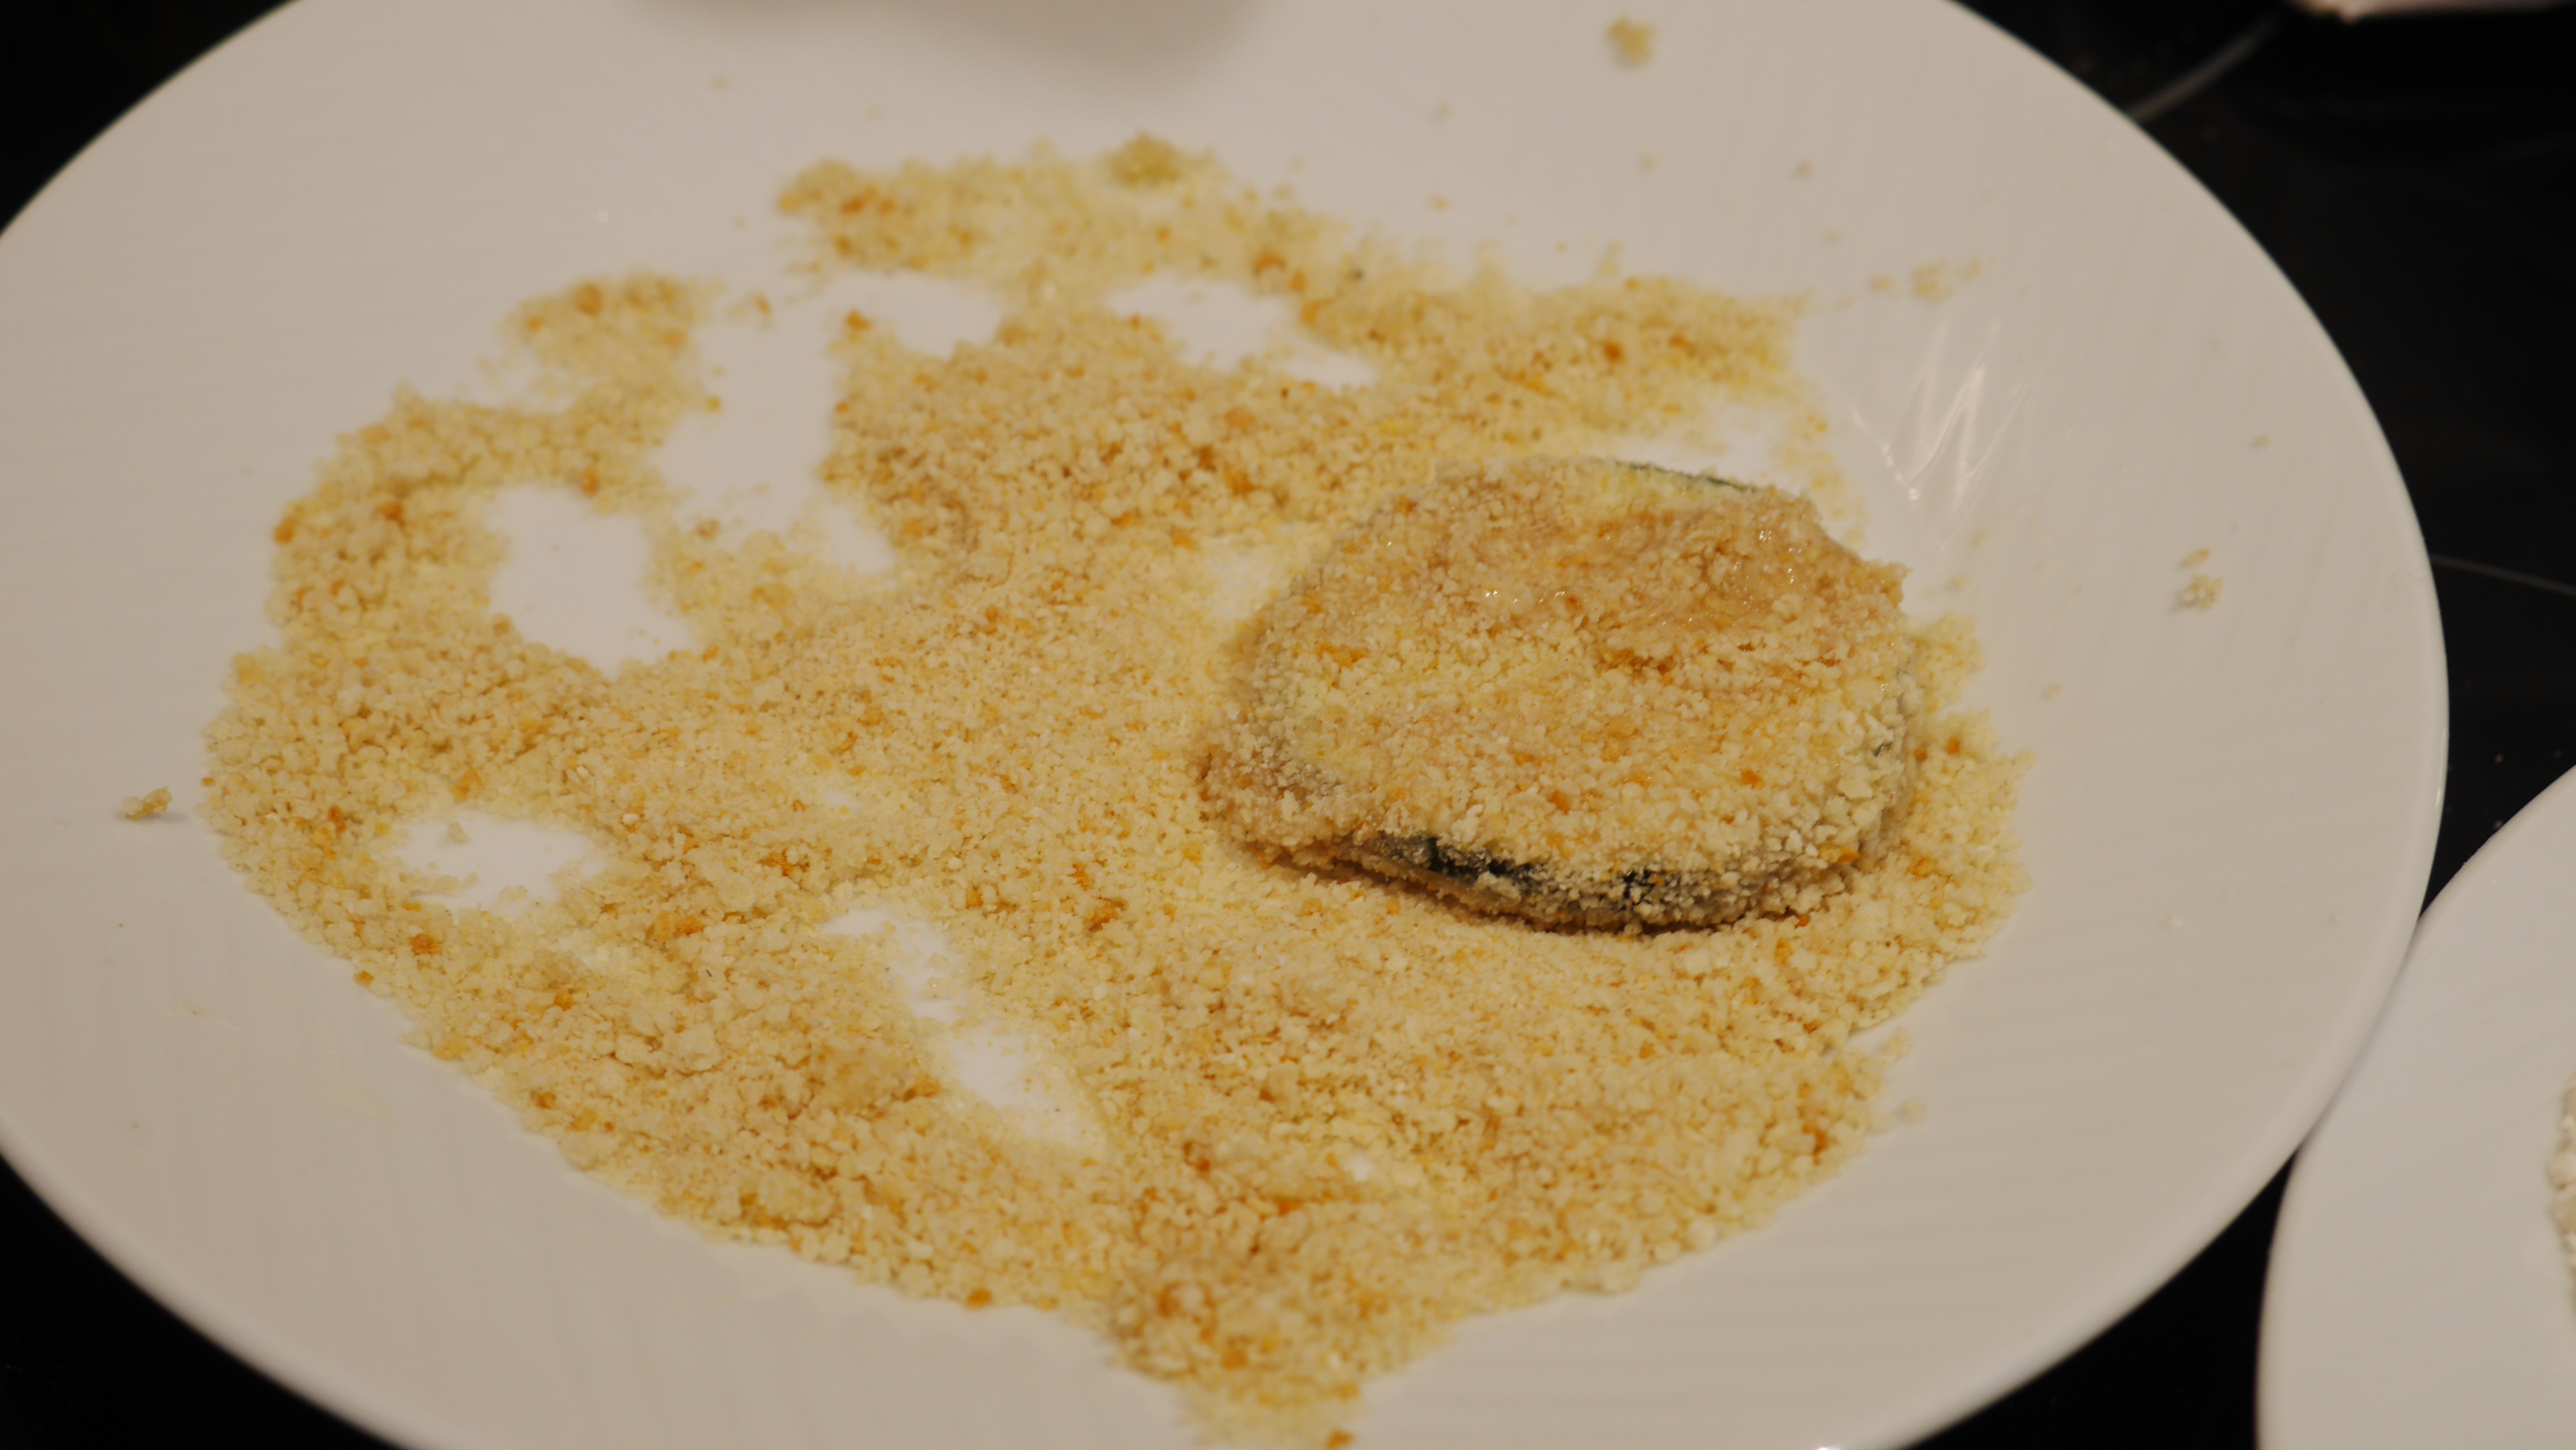
Trial 5: Flax Egg and Water
I know that another popular option is to use vegan mayonnaise, but I’ve yet to find one that I can actually eat as they contain so many other ingredients.
I make my flax egg with 1 tablespoon of ground flax to 2.5 tablespoons of cold water. I stir it, then leave it to sit for 10 minutes. The mixture was *really* gloopy, and I found it really hard to get it to stick to the courgette- you can see the gloopy bits in the picture.
However, I tried using my pastry brush, and things went a lot more smoothly. It does eventually get gunked up from the flour layer, but it’s much easier to get an even coating of the flax mix over the courgette. This one had a slightly nutty taste, which I thought was nice.
Other options
My only variable during these stages was the liquid element, but I also wanted to try out different things for the first stage. I kept using the flax egg with these ones.
Semolina: I used a pretty fine grind, and it attached quite well, and added a bit more of a crunch
Rice flour: To be honest, I couldn’t tell the difference between this and plain flour, it worked just as well.
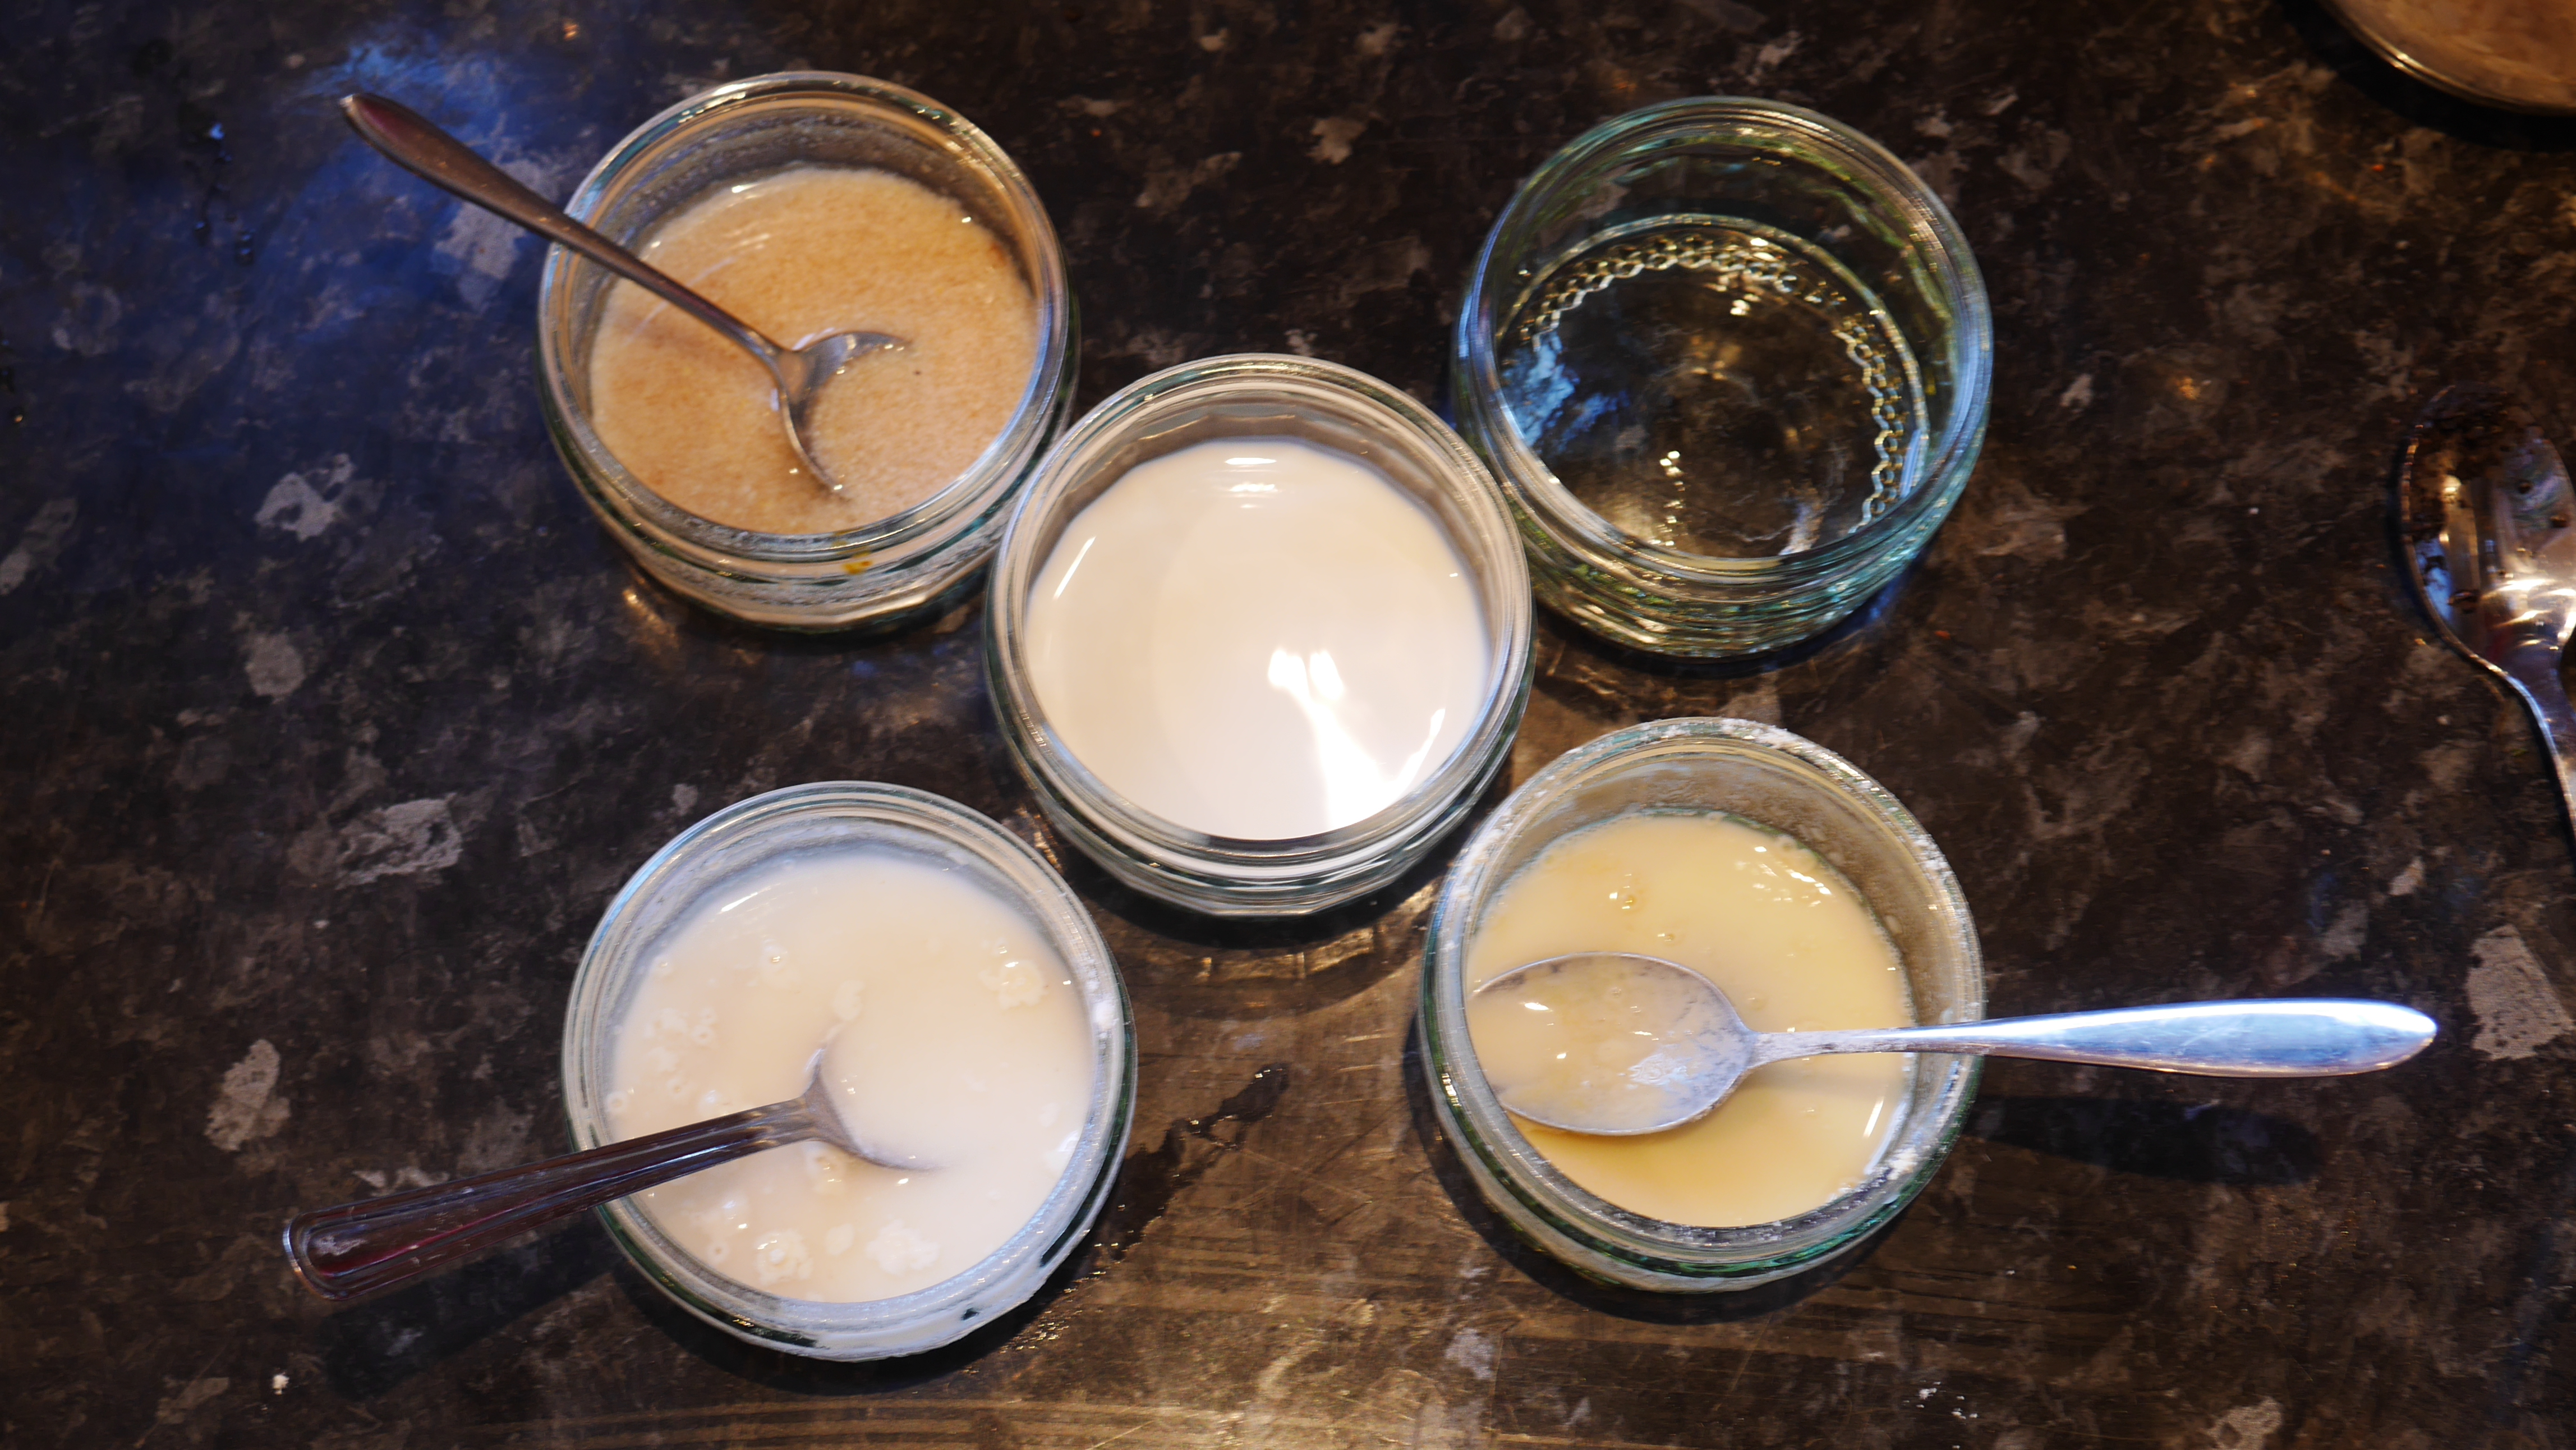
Clockwise from top right: oil, chickpea flour, plain flour, flax egg. Middle: oat cream.
The Verdict
I think that the flax egg is my solution of choice for breading things. It’s more predictable to make up than the other options, although they would definitely work in a pinch. The clear exception is oil, which did not work at all.
I’d also definitely recommend using a brush- I tried it with the other things after it worked well on the flax egg, and it just makes for a much more even covering.
Avoiding eggs has been one of the particularly challenging things on my low histamine diet. I really enjoy baking, and I felt to start with like I just wasn’t able to really do it any more on this diet. I made a lot of flapjacks.
Then, when I got a bit more confident with what I could and couldn’t eat, I looked up some vegan baking recipes. I’m used to dairy substitutes, so I’m very happy adapting a recipe to make it dairy free, but I had no idea where to start with eggs.
I looked around for some recipes, making sure they weren’t relying on histamines for flavour or an important reaction: lemon and apple cider vinegar are the key things to watch out for.
I found a few recipes for ginger cookies, and none of them quite fit because of the things I needed to avoid, or because I didn’t have the right type of flour. So, I started to work on my own one.
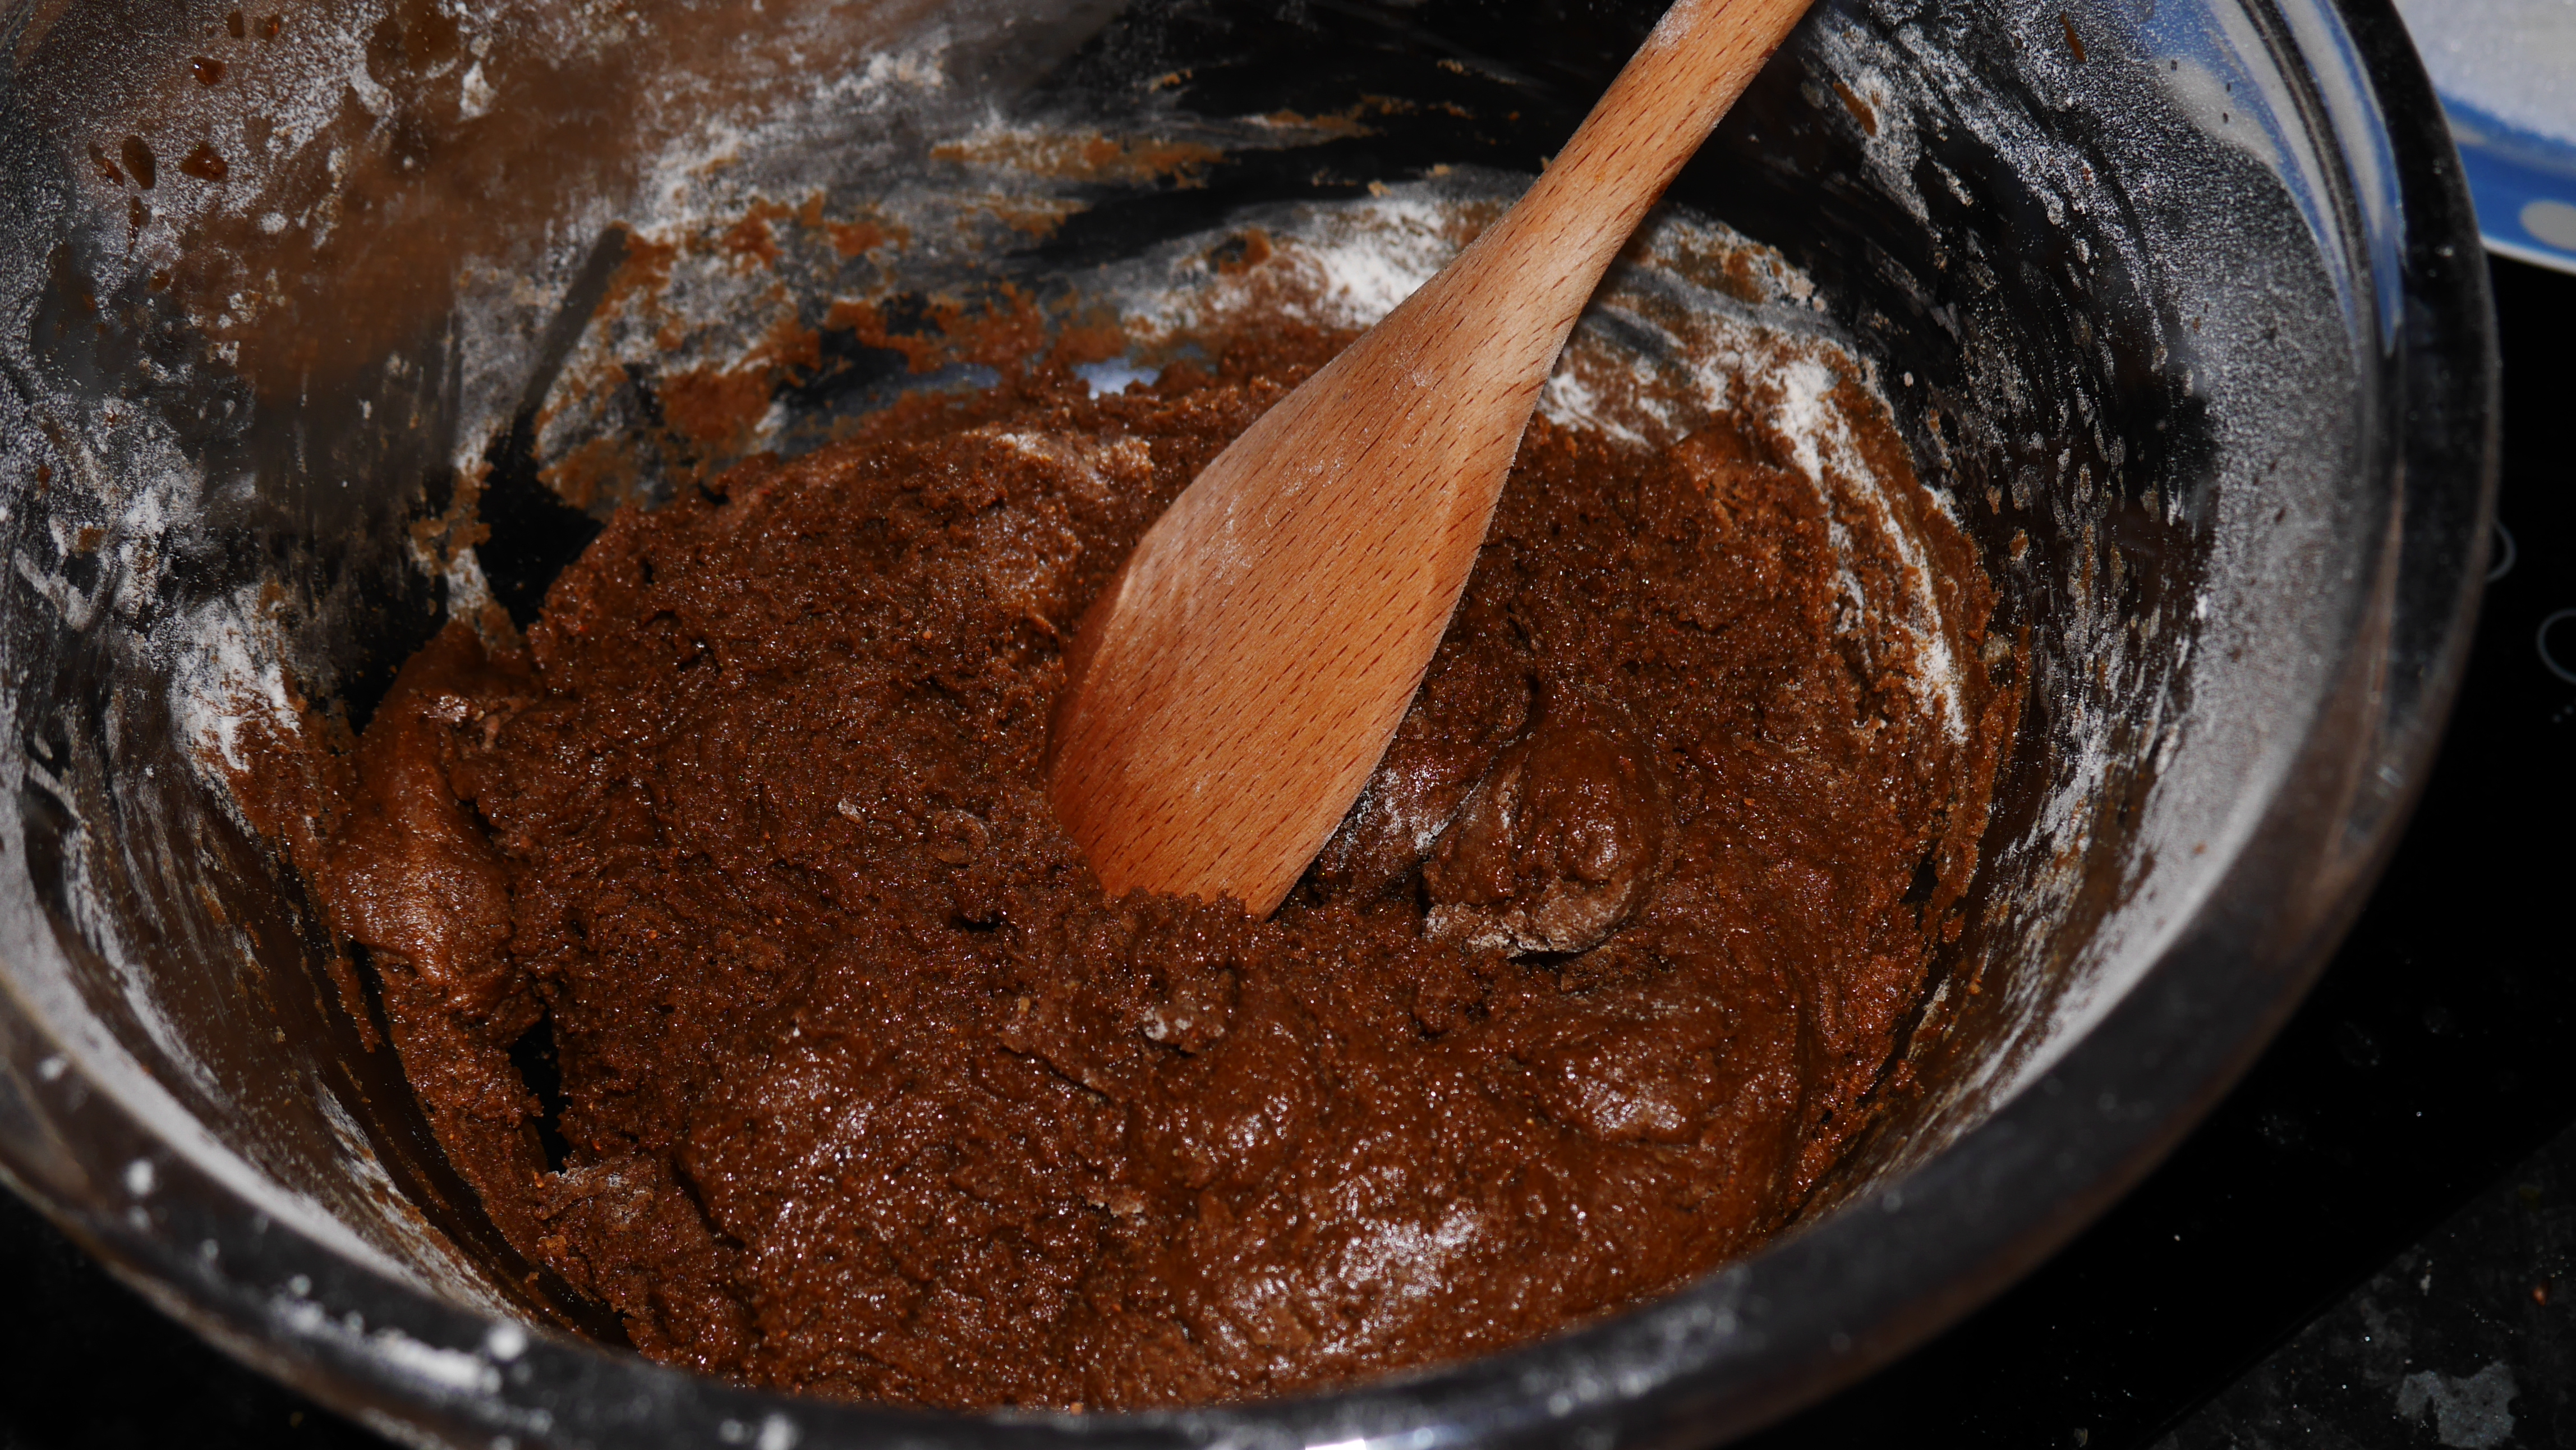
Mixing the biscuits together with a wooden spoon
I’ve played around with it quite a lot and it’s now not too sticky. I wanted to make sure there was a good balance between flavour and texture, and these cookies are quite soft, and the sugar on the outside gives a great crunch. I really go in for spices, so feel free to reduce those a bit if you’re not up for a mega hit.
Ingredients
1 tbsp ground flax
2 1/2 tbsps water
115g black treacle
100g ‘butter’- I use Vitalite
100g dark brown sugar
350g self raising flour
2 tsps cinamon
2 tsps ginger*
1 tsp nutmeg*
salt
1 tsp bicarbinate of soda
50g light brown sugar (optional)
*I can tolerate small amounts of these but if you’re sensitive, go slowly
Method
Preheat oven to 180C and line a baking sheet.
Make up flax egg by mixing flax and water, and leave for 10 minutes to thicken.
Melt butter, I do this in the microwave. Go gently so that it doesn’t boil.
Whisk together treacle and butter until smooth. Using an electric whisk makes this a lot easier.
Whisk in flax egg and sugar, making sure that the butter mixture isn’t too hot.
Sieve and whisk in spices, baking soda, salt and half of the flour.
Whisk in rest of flour. The dough should hold together and be slightly soft. If this gets difficult with the whisk, you can swap to a wooden spoon or even your hands.
Shape the miture into balls, and gently press to flatten.
(optional) Roll each ball in granulated sugar.
Space evenly on tray, allowing a bit of room for them to grow. Cook for about 10 minutes- the cookies will still be quite soft when they come out, but they will harden as they cool.
Let cool for about 10 minutes on the tray before transferring to a wire rack.
Store in an airtight tin for up to a week.
Tips
I like to line my baking sheet with a silicone liner that can be washed and reused.
If you only have plain flour, you can convert it by adding a teaspoon of baking powder.
I make my own ground flax by gringing flax seeds (also called linseeds) in my coffee grinder until they’re a fine powder.
When melting the butter in the microwave, I use a mug so that it’s easier to get it out when it’s hot.
Dysautonomia tip: you can add in a lot more salt if you need to as the spices help to mask it.
Sausages are one of my favourite things, so not being able to eat them or any pork products on my low histamine diet has been really challenging. One day, I had the idea of trying turkey sausages instead. Some supermarkets do sell them, but most have other ingredients that I can’t eat like onion, garlic, or the dreaded ‘flavouring’.
So, I decided to try to make my own with some turkey mince. After a few goes, I’ve managed to make them really tasty and moist. I’ve got a little technique I use to make sure the ends aren’t too pointy that I’ll explain below. As you’ll see though, you shouldn’t worry too much about getting them absolutely perfectly shaped, it’s all about the flavour.
1 tbsp neutral oil (whatever you prefer to cook with)
100ml chicken/veg stock
Method
Place the mince, salt, pepper, oregano, thyme, breadcrumbs and nutritional yeast into a medium sized bowl.
Scrunch everything together, making sure everything is easily distributed through the mix.
If still a little wet, add a little more nutritional yeast and breadcrumbs until the mixture becomes firmer and shapeable.
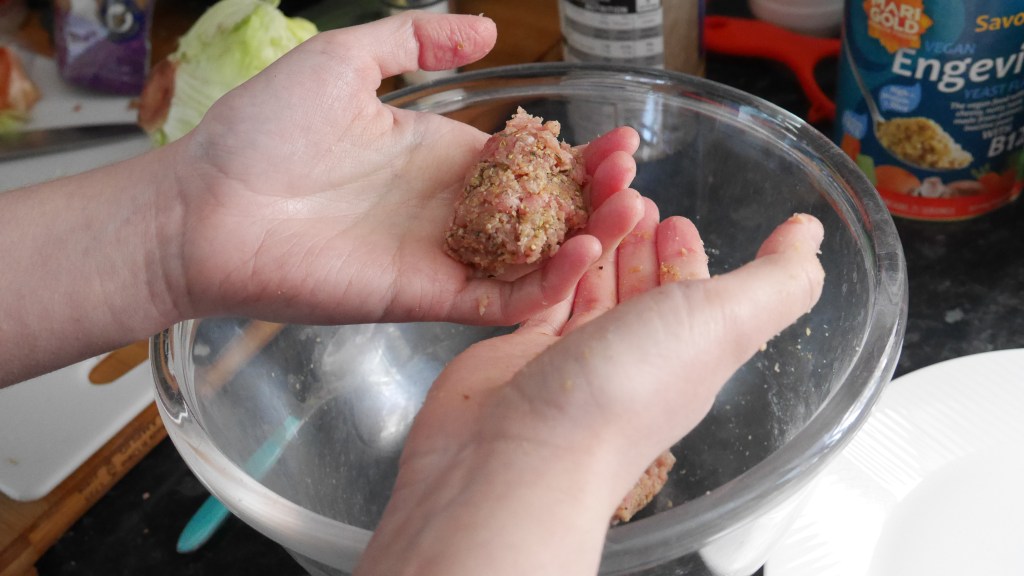
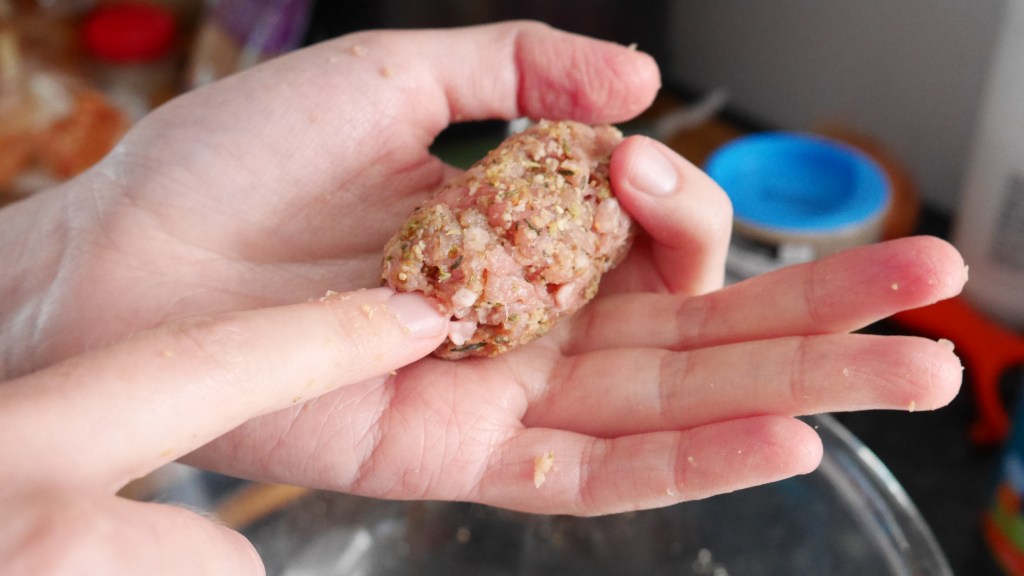
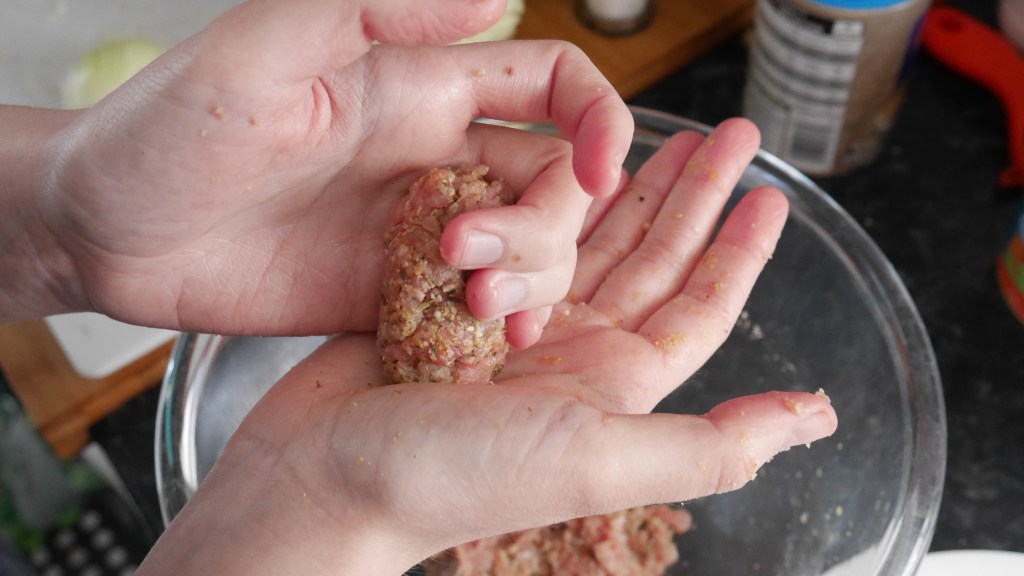
Shape the mix into eight sausage shapes. To do this, take 1/6 of the mixture and roll it together. To make the ends, hold the sausage in one hand and poke with one finger to push in the point, then smooth over. Repeat with the other side. The mix will feel a little grainy, but this is right.
Heat a medium non-stick frying pan on a medium heat. Add a tablespoon of oil and brown sausages on all sides.
Once browned all over, tip in stock and place a lid over the top to finish the cooking by steaming for 6 minutes.
Take the lid off to let the liquid evaporate.
Sausages ready for the pan
Tips
If you don’t have a lid that covers your frying pan, you can make one from tin foil.
If you can’t find nutritional yeast, you can use more breadcrumbs instead. You can find it in some supermarkets, health food shops or online.
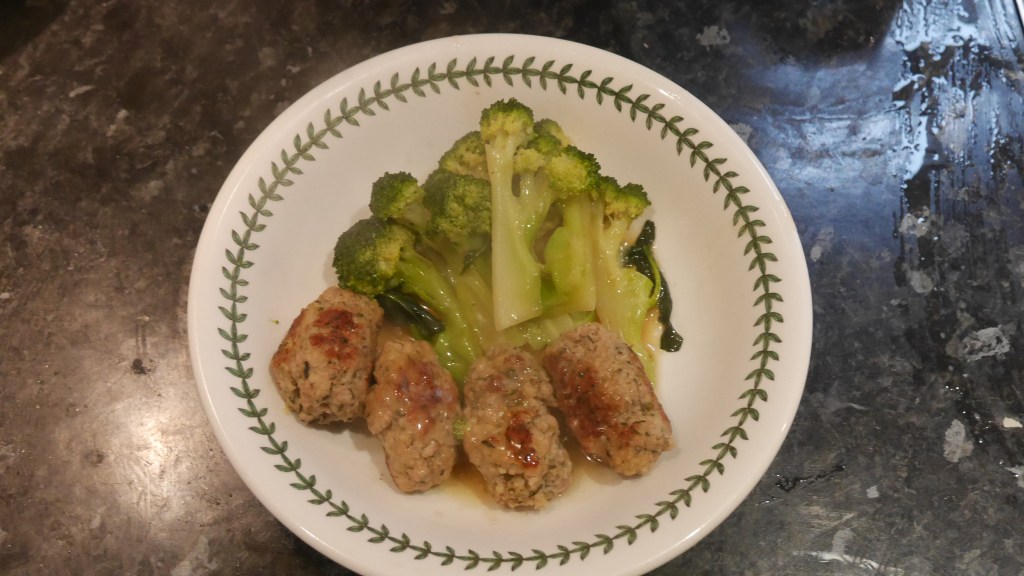
While I’m steaming the sausages, I like to also cook some veg in the pan- here you can see I did some broccoli. If you’d like to do this, add 50 ml more water and steam with the sausages.
To make a sauce, you can make a slurry of 1 tsp cornflour and 4tsp cold water, then add it to the sausages (and veg) at step 7.
The sausages keep well in the fridge for a couple of days.
Here is a list of all the foods I had to avoid for four weeks, and which I’m slowly introducing now. I have to start with things in the medium list before I can graduate to the higher list.
I’ve struck through the things I’ve reacted to, and underlined those which are allowed to stay. Most of the underlined things are in a small quantity, e.g. I can only have 2 segments of tangerine. For me, a reaction can be tummy-related, but it’s not always that straightforward. I can also get very hot or very cold, and get symptoms similar to flu. If I react, I have to have seven days off before I can start introducing the next thing. It was initially three days, but as my reactions were getting bad, my doctor suggested upping it to a week. This means things are going to take a very long time.